|
To begin the process of painting the figure, I first had to test different paint techniques out on a test piece. Whilst the tutor Sue Day was in she instructed us on how to colour a figure to achieve the most real outcome possible. It was during these tutorials I was instructed to use a base colour that would be a solid first coat all over. with Sue's help I decide to use the same exact base colour spray paint that Madame Tussauds uses on its figures.
|
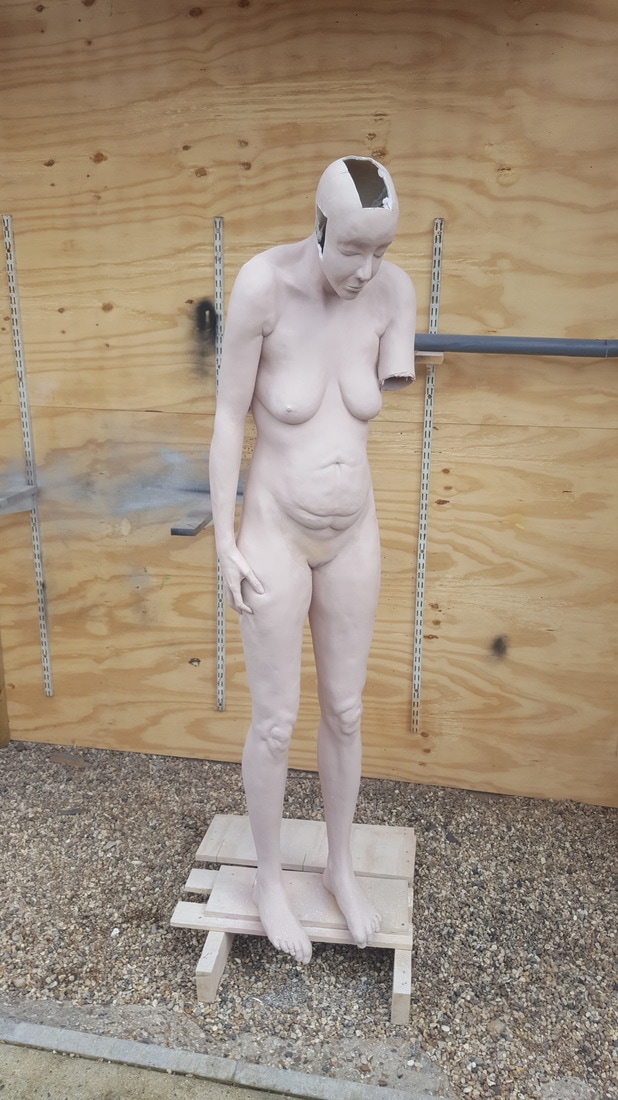
I moved my sculpture outside, using a makeshift spray booth and platform for my figure I began to spray paint the primer coat. With this first coat of spray paint I could begin to work out where I needed to work further into the seams. To fix the seams I simply filled over any and all imperfections with car body filler and sanded it down. the first coat of paint highlighted where the seams needed more attention. These areas once filled and sanded again would need to be re- sprayed.
|
Once the figure was completely sprayed, it was time to begin adding acrylic colour to the sculpt. I tested a few different techniques on my tester piece first, but then began properly to add colour working first with a darker shade of flesh colour. My technique was to add very thin layers of paint using an airbrush at first to create a even cover that was thin to add to the translucency of the piece. This colour was a darker tint as I felt it would be easier to add lighter tones on top.
|
|
|
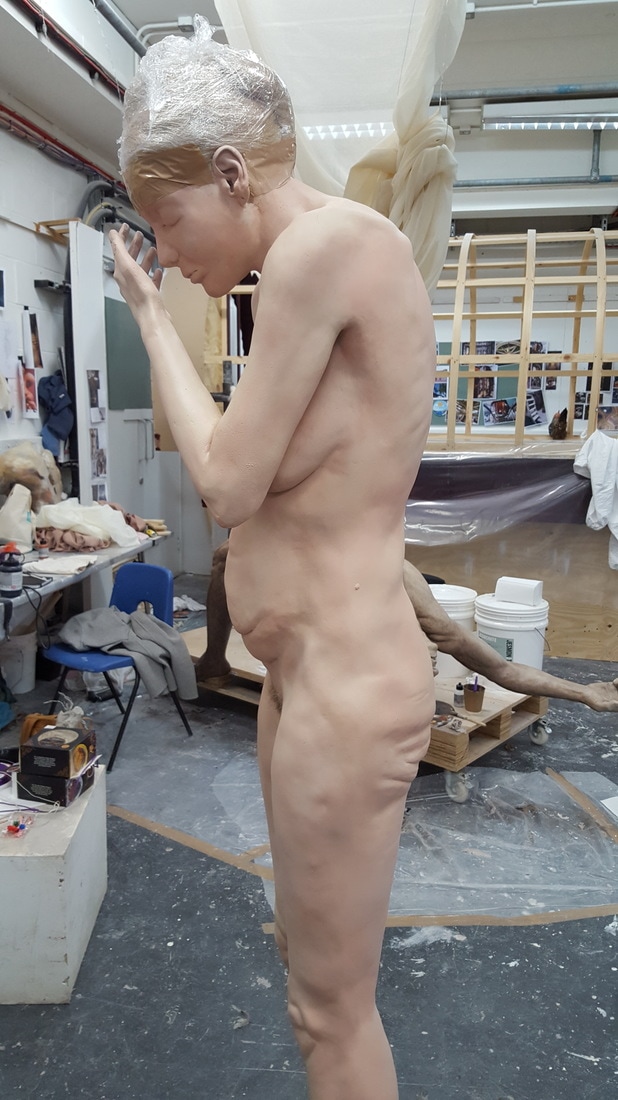
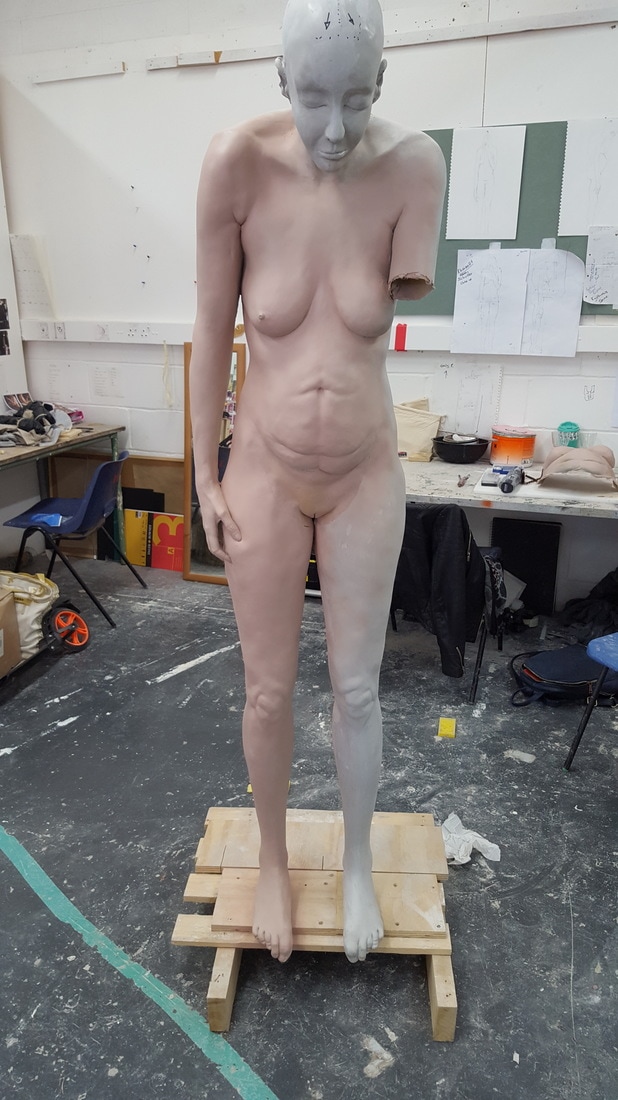
I continued to paint the entire sculpt in the same way, by adding very thin layers using an airbrush to maintain an even consistency of paint. At this stage, its difficult to see the subtle differences of tones, but after around the fourth layer I was happy enough with the skin colour to begin adding oil paint and small details. These small details would eventually make the skin look real to the eye.
|
|
|
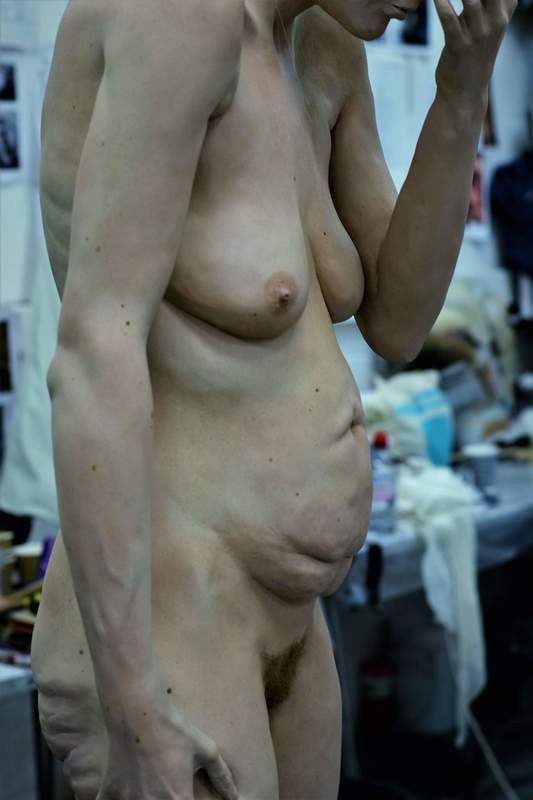
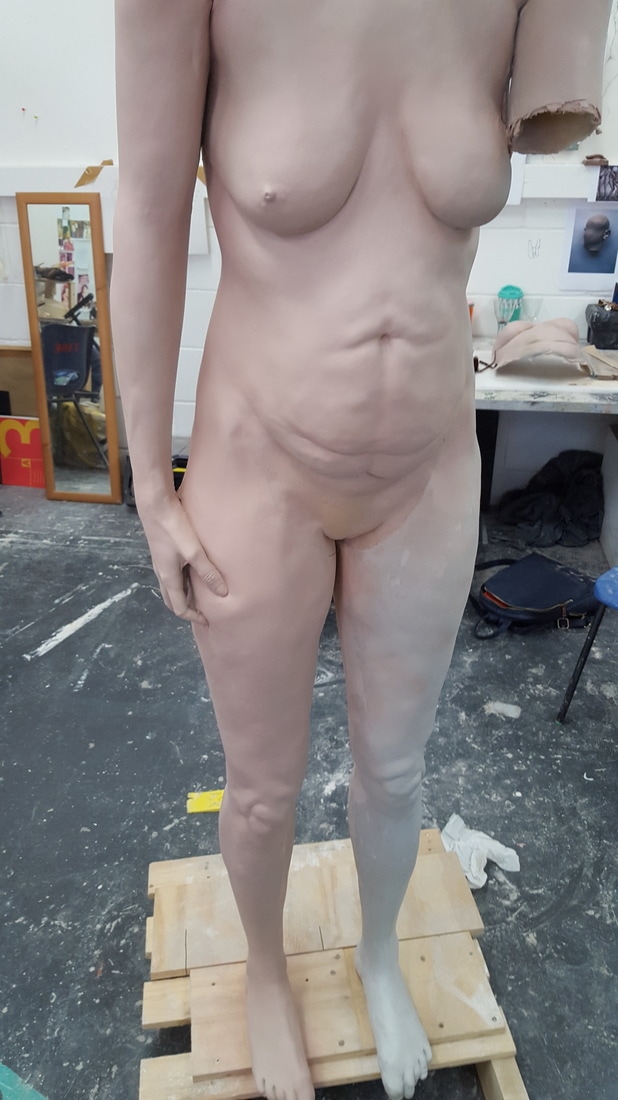
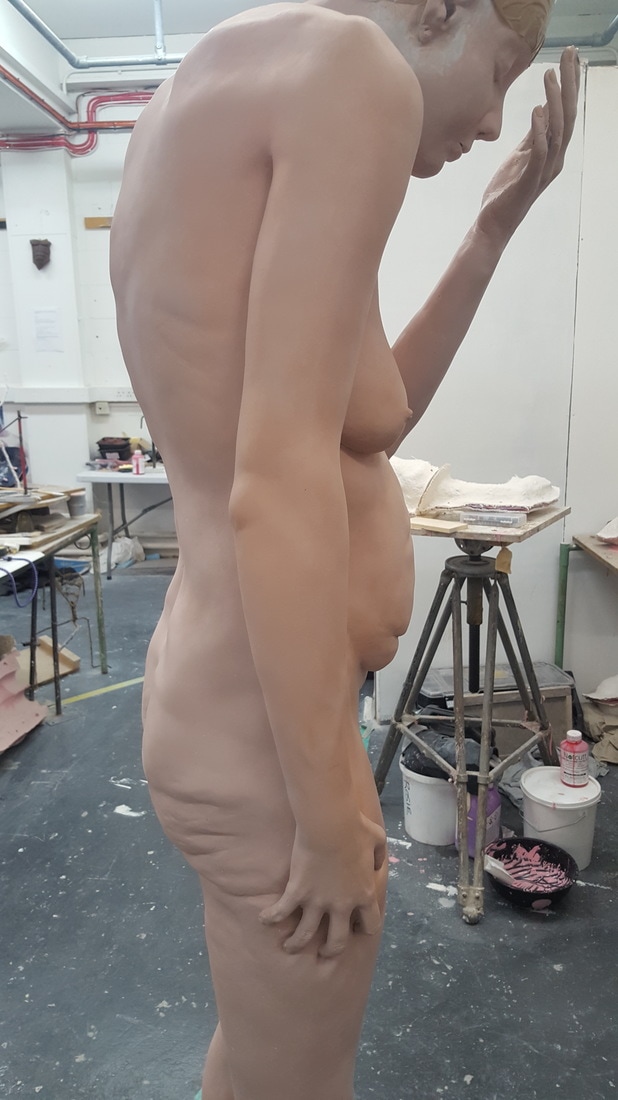
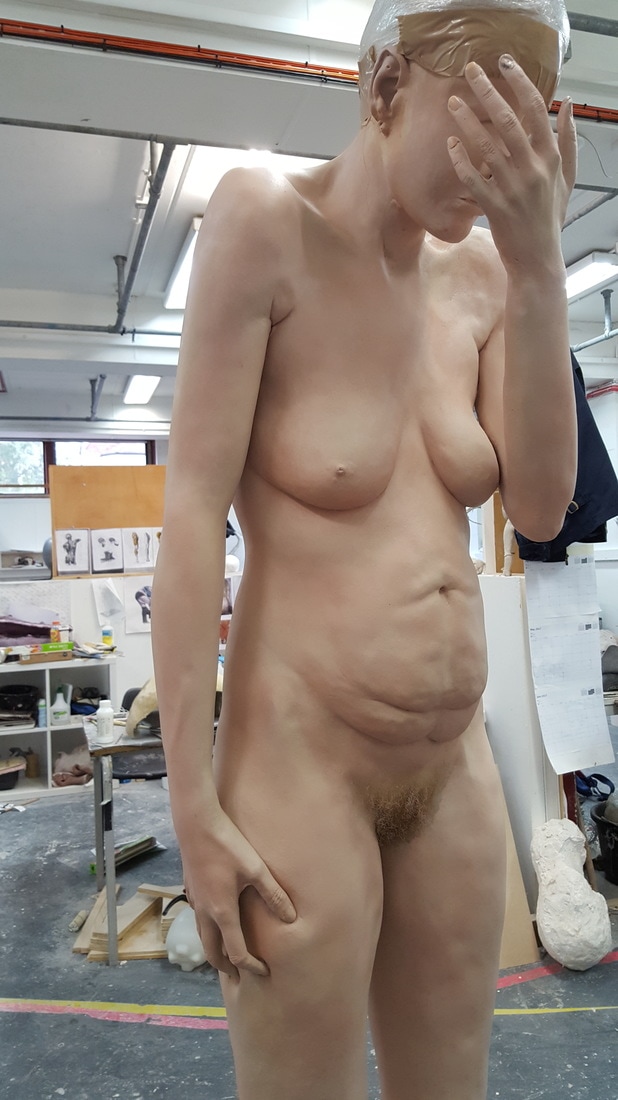
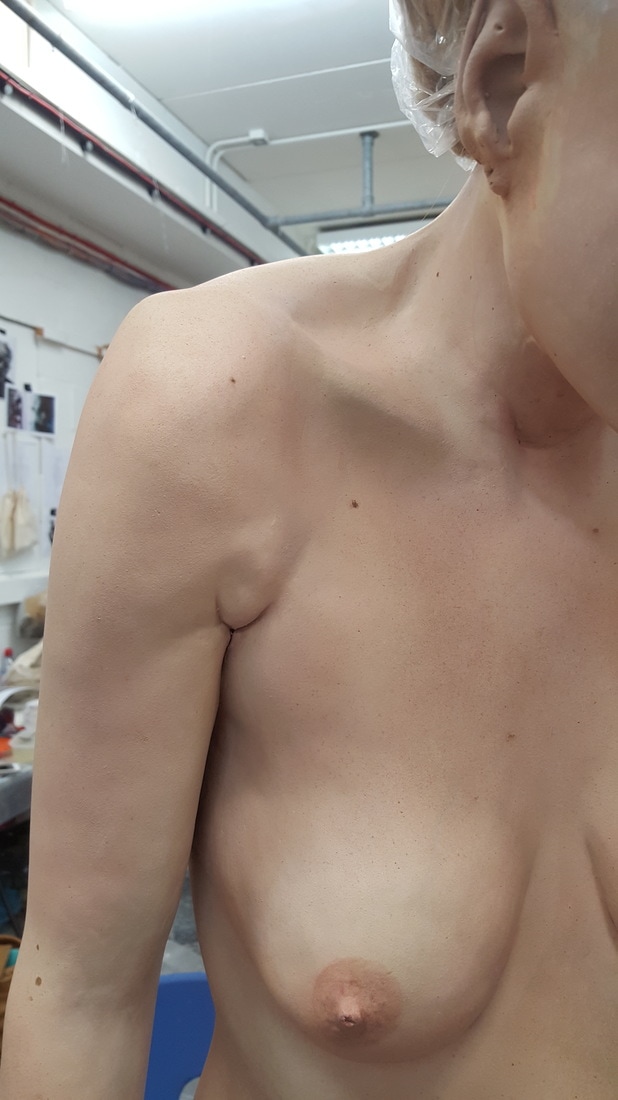
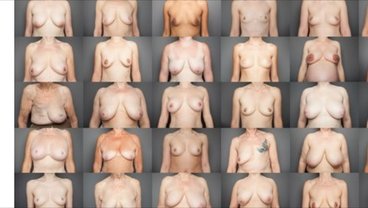
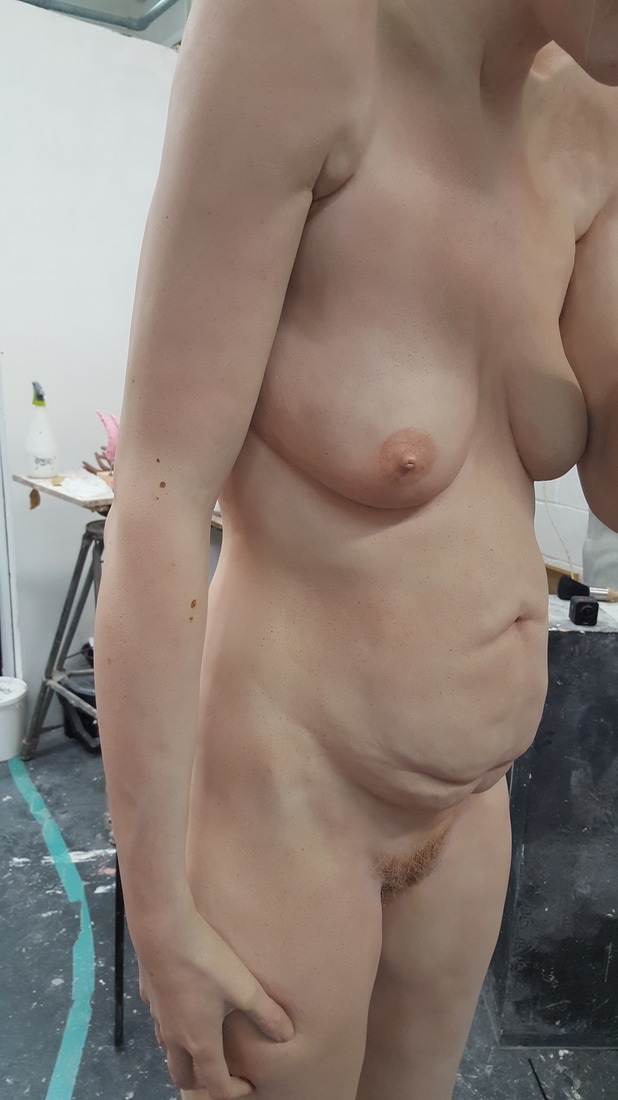
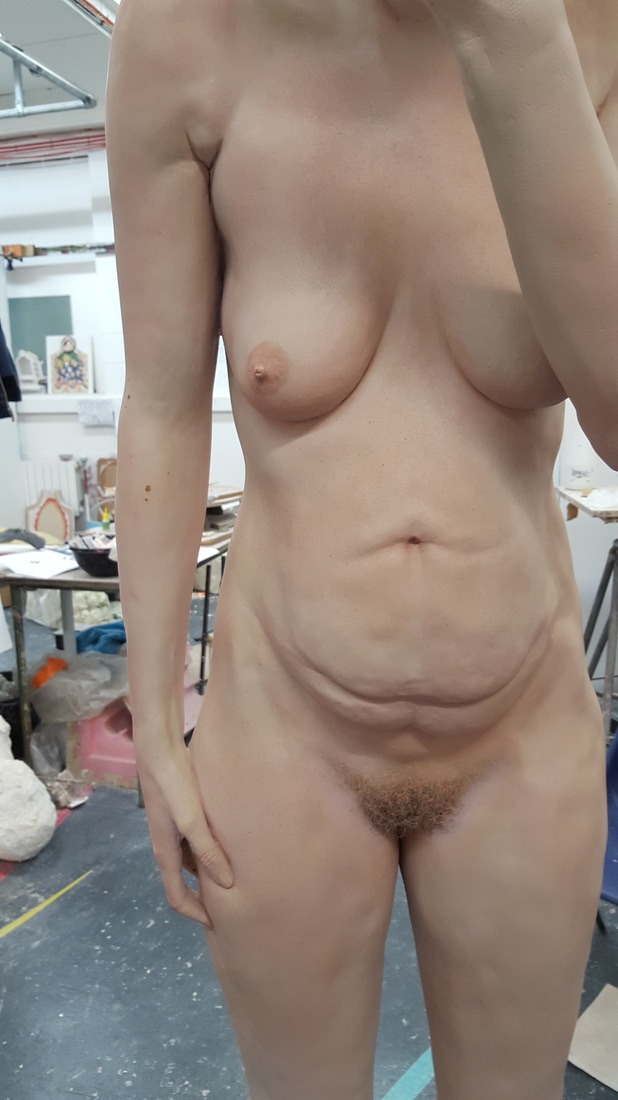
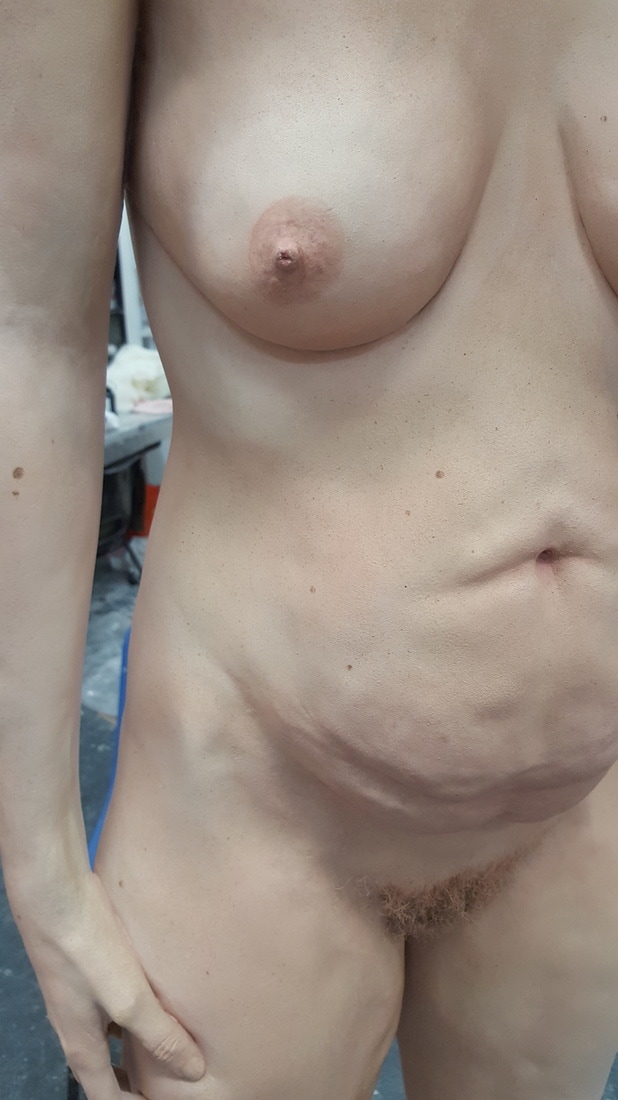
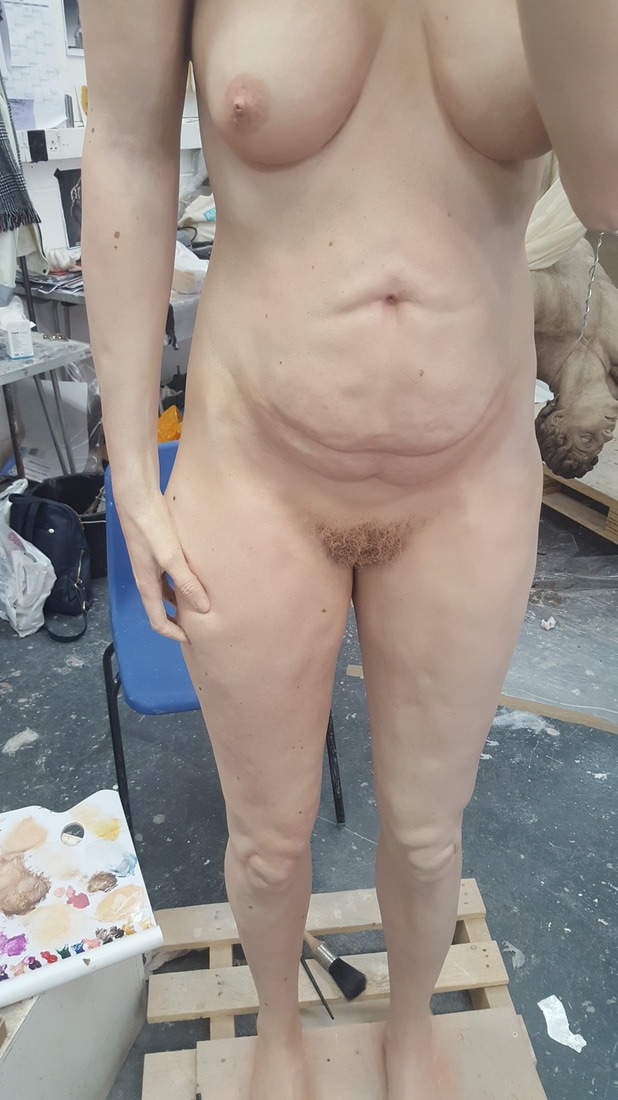
The breasts were something I have never painted before, and in order to get the most accurate representation possible I found this image online to act as reference. I decided upon a pinker colour as I felt it was in keeping with the work, and from the reference I learnt that breasts have veins that are just underneath the skin surface. I also noticed that the top 'fleshier' part of the breast tissue tends to be lighter that the surrounding skin tone.
|
|
|
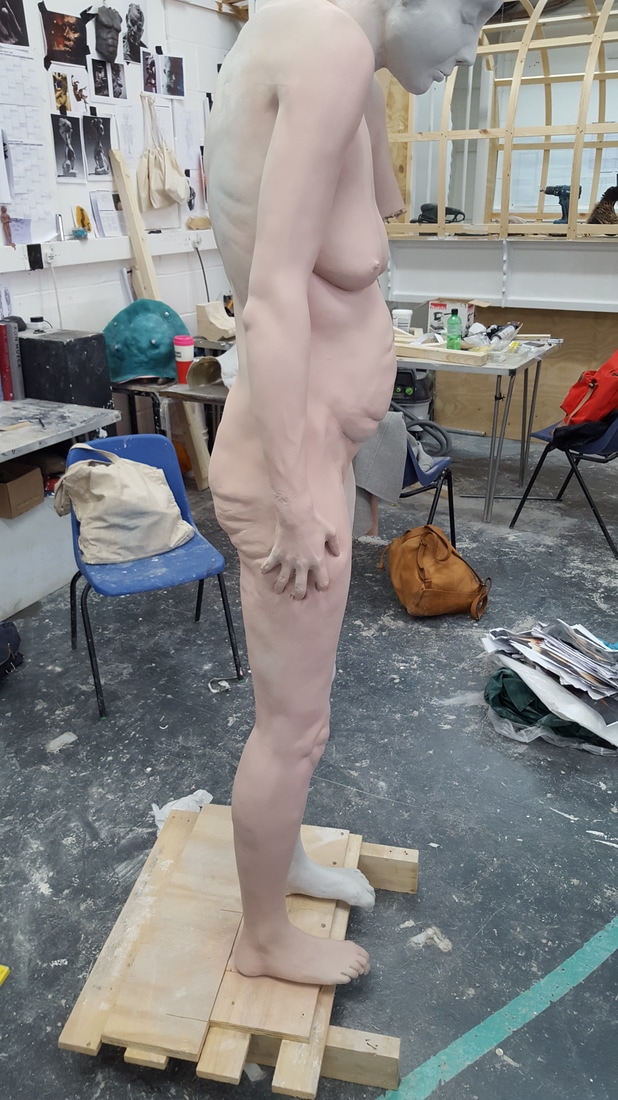
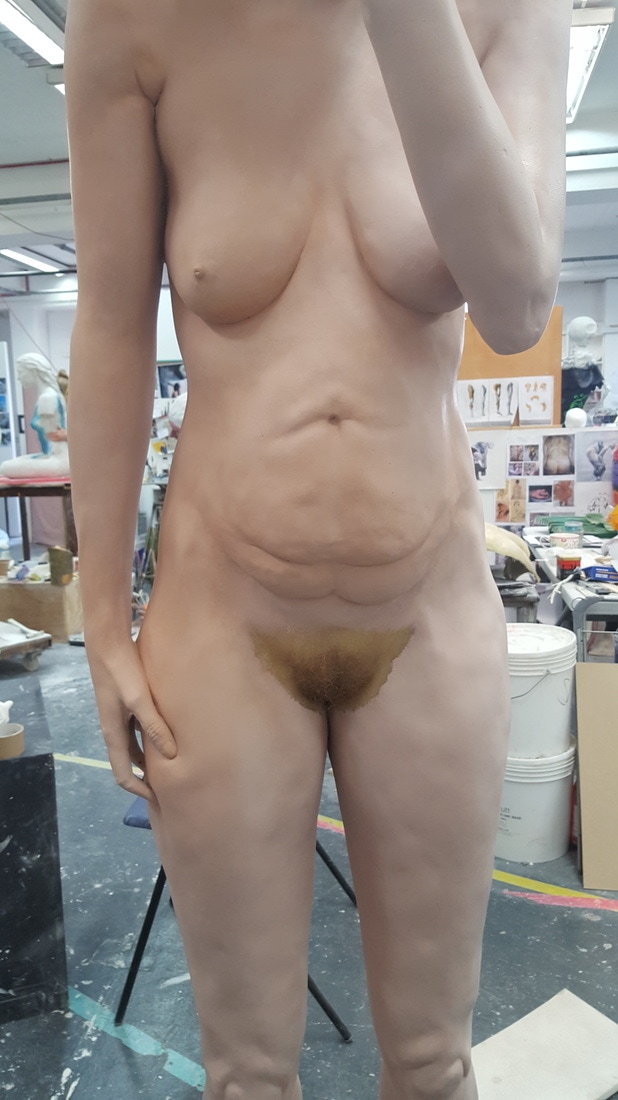
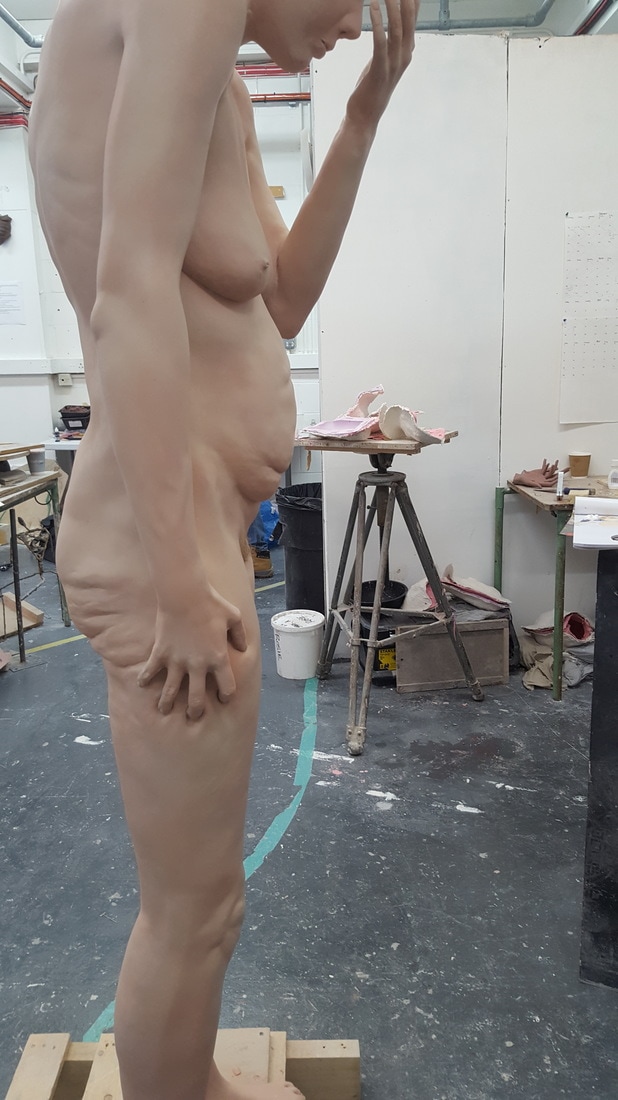
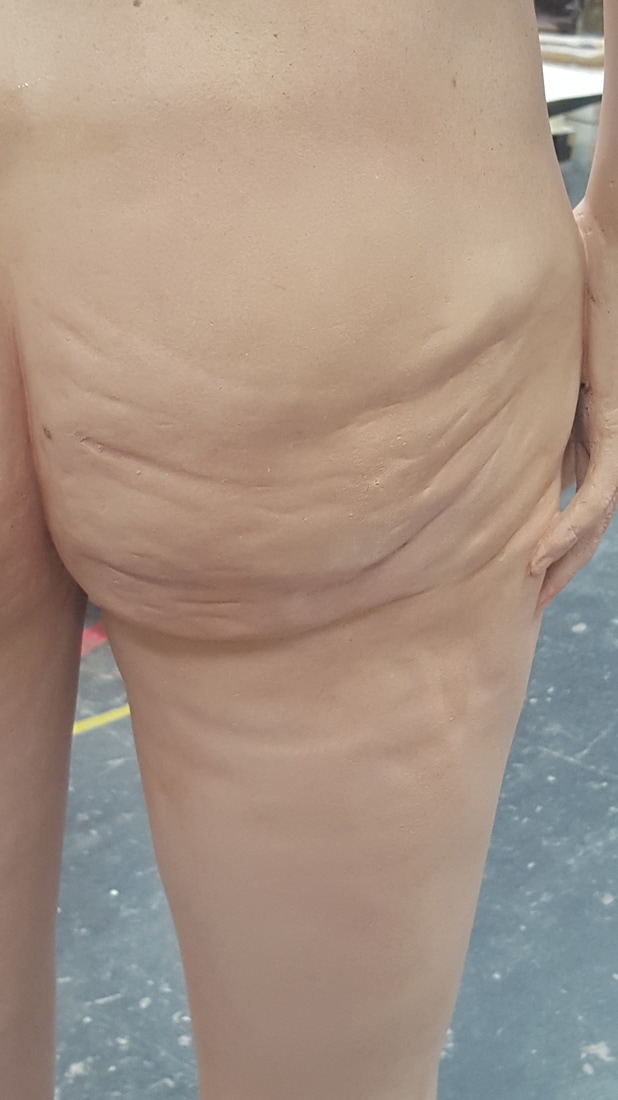
For the stomach I wanted to enhance the sense of fleshiness that I applied in the sculpting, this was created by creating different skin tones where the cellulite is, and have it be a little pinker to enhance the shadows. here you can see that the first layers were darker and had more of an orange hue to it. In the photo on the right I corrected this by adding a lighter and whiter tone to the surface.
|
|
|
|
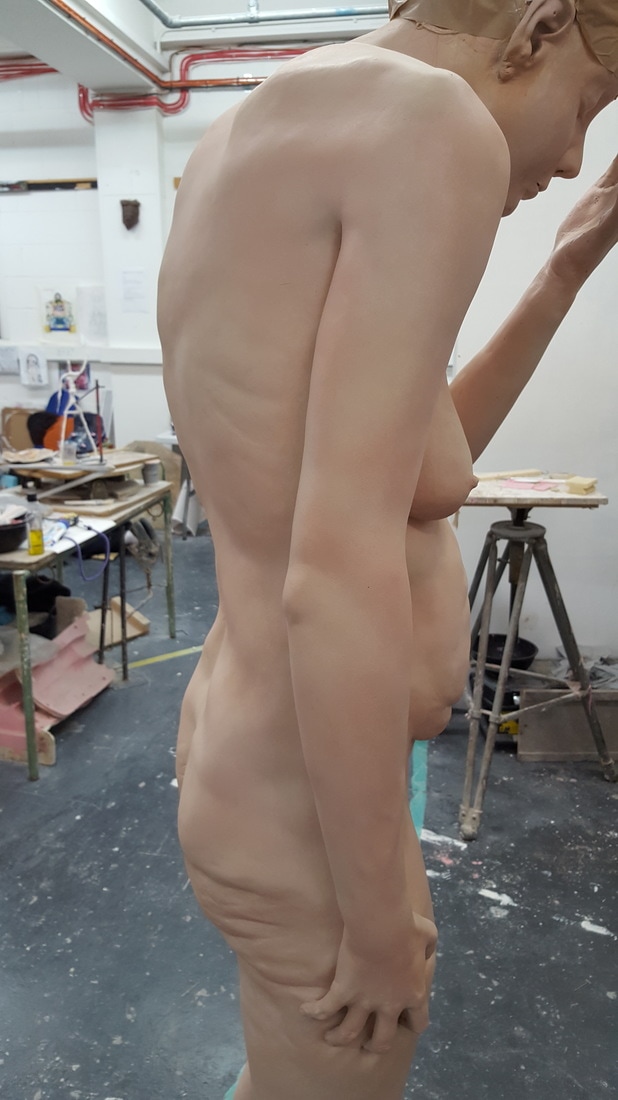
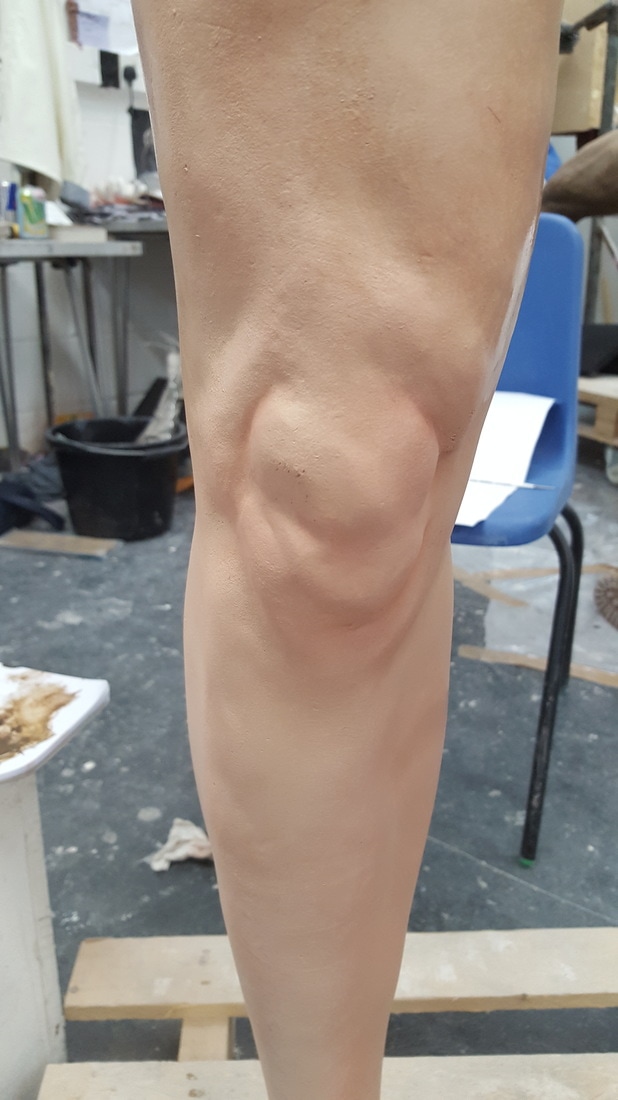
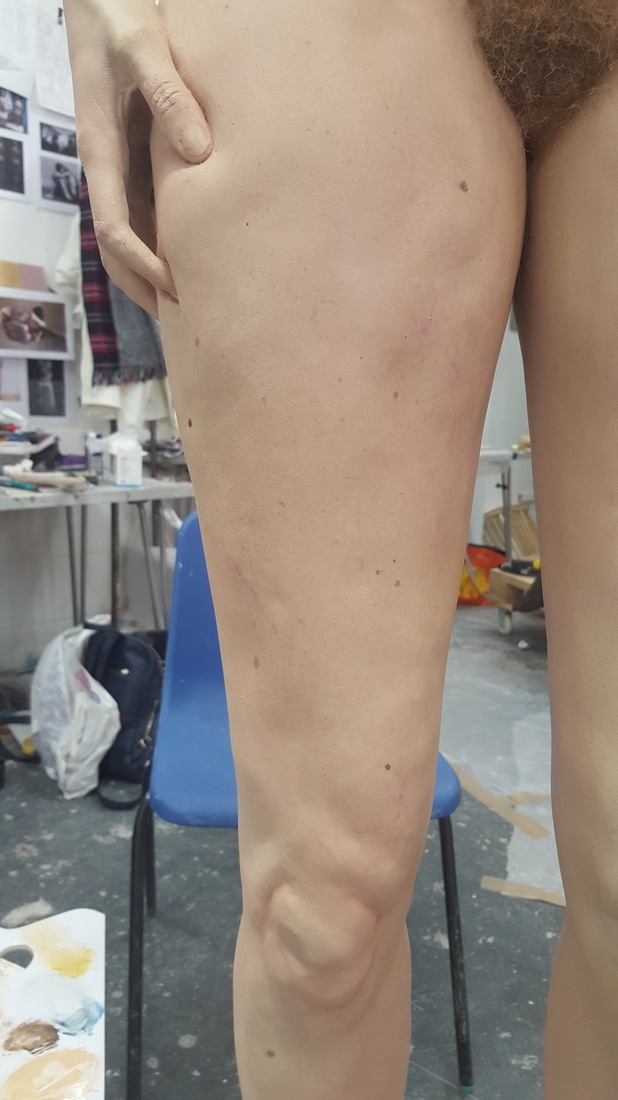
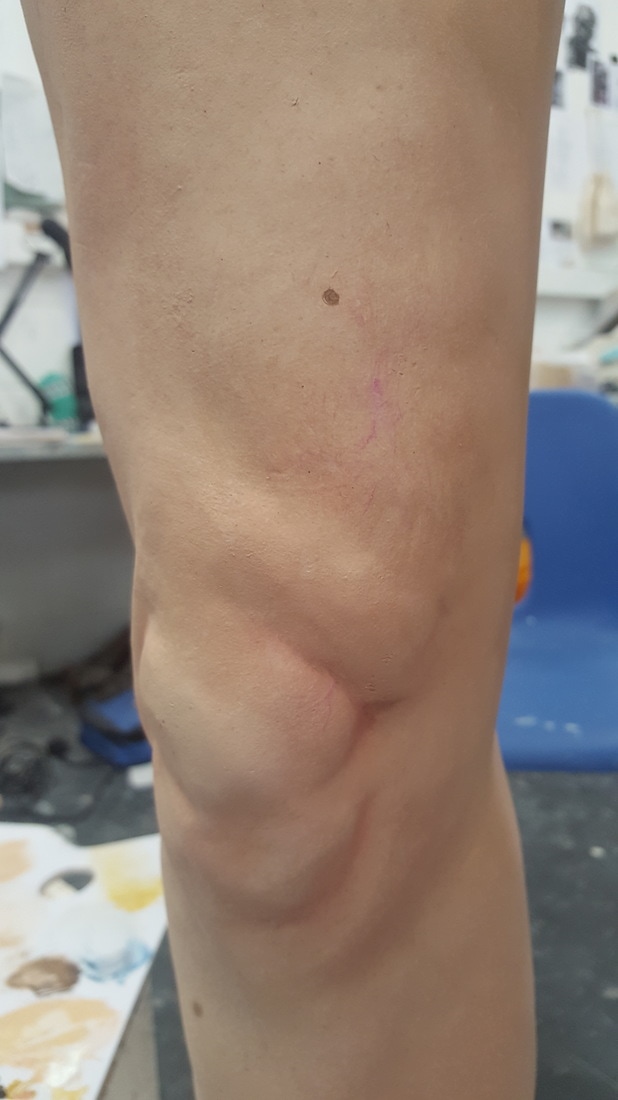
The leg detail I wanted to create was a sense of weight that would be similar to someone who had a lot of excess weight. I also wanted to add details such as varicose veins and beauty spots. for the beauty spots I decided to use my own as a guide, so I created a template and plotted exactly where each of my beauty spots would line up against her body.
|
|
|
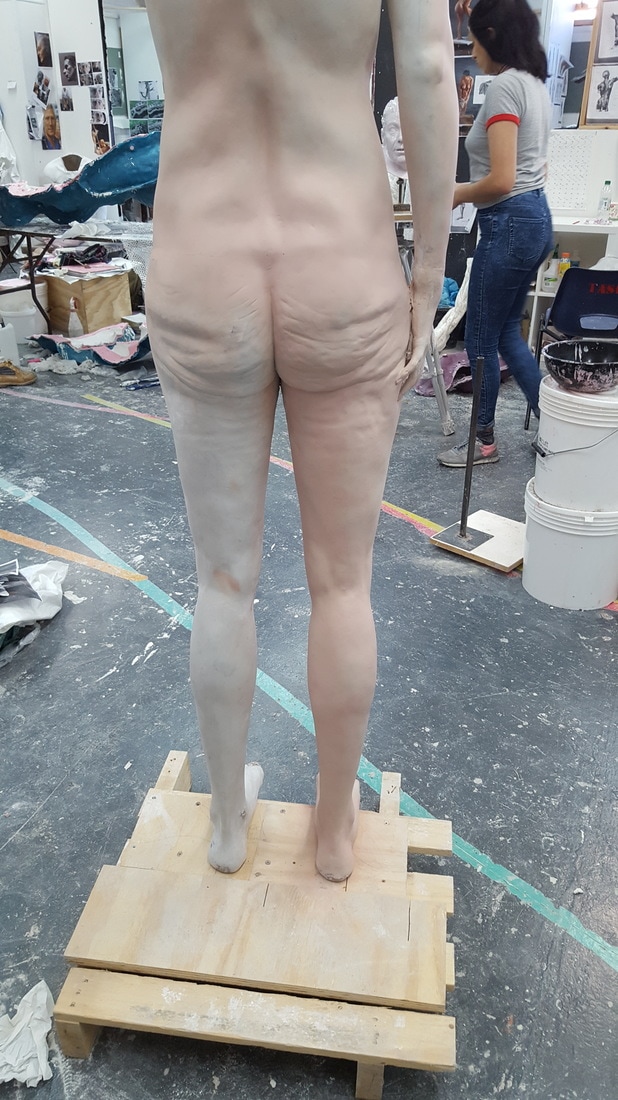
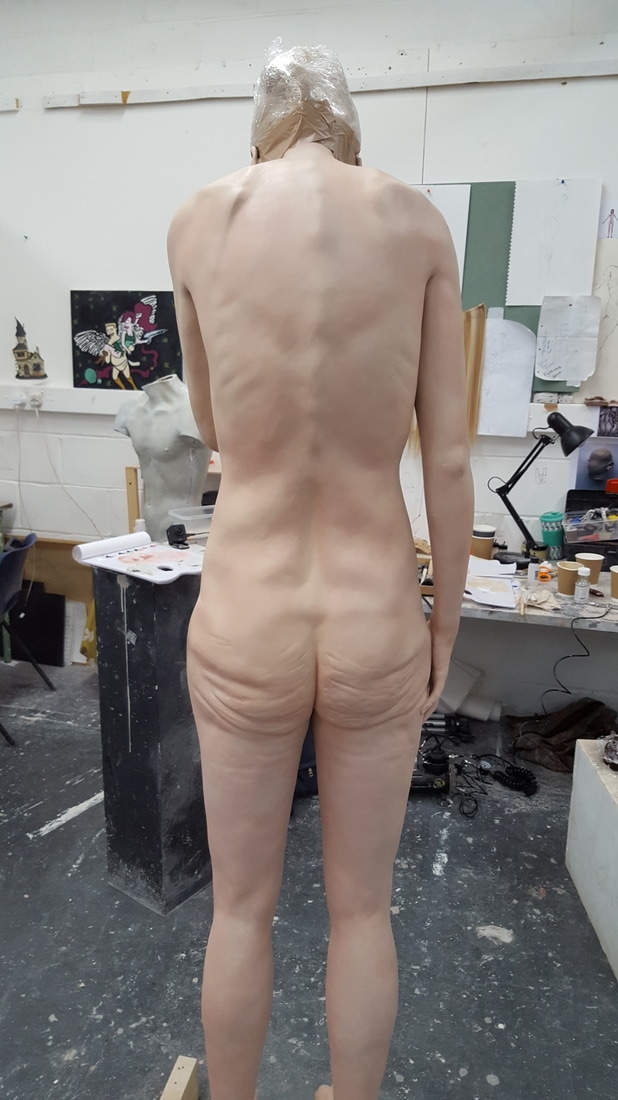
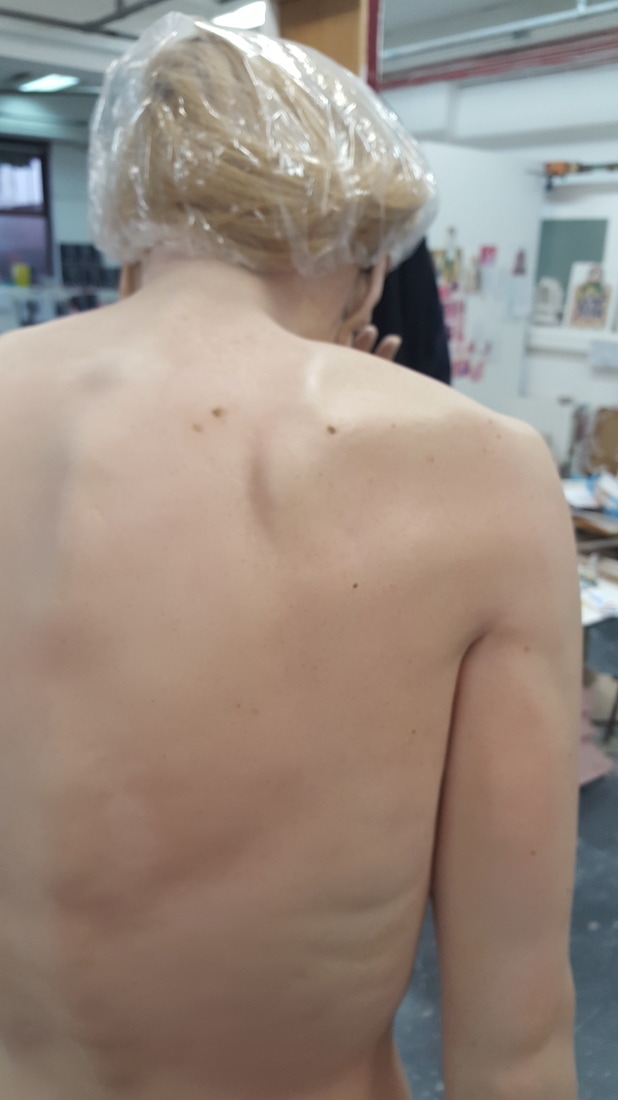
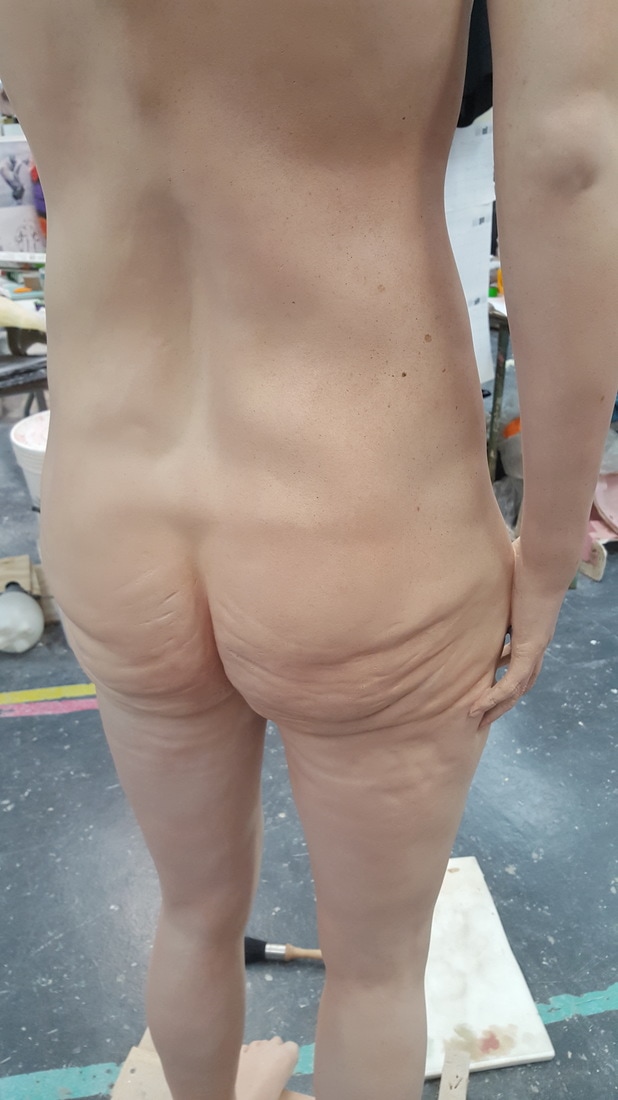
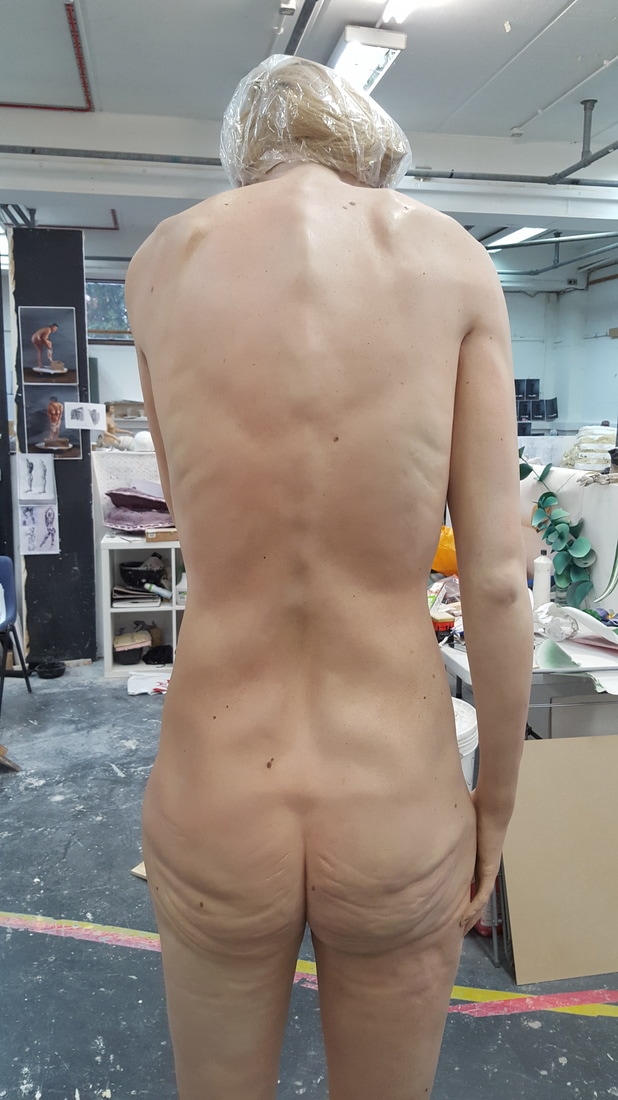
The back was difficult, in the sense that there was less points of detail that I could apply to it. it was a large flat surface, so in stead of adding too much unnecessary detail I simplified it so that the skin looked to be pulled over the bones of the ribs and spine. I also added pinker details to the fattier areas.
|
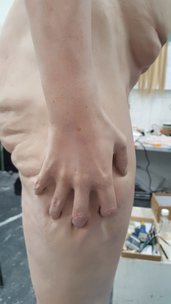
For the hand I looked at my own in the same position and tried to reproduce the colours the skin goes when under tension. I found that the skin of the leg would lighten when squeezed and that the knuckles would go a similar colour. I applied this to the sculpt along with veins of the hand and arms. I used an anatomical text book to plot exactly where the veins would be under the skin. I will add false nails to the hands later on in the process.
|
|
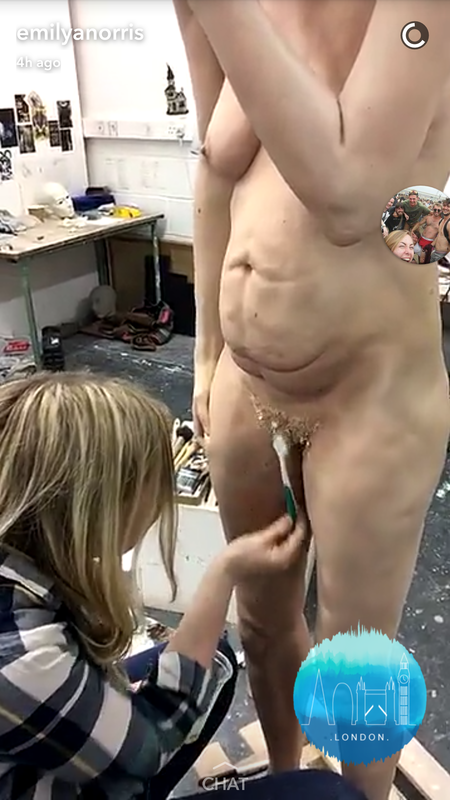
The genital area was the most difficult to paint. to blend the edge of the wax insert I used a think layer of the epoxy paint I used for the base coat. when dried I then applied layers of oil paint, using as close a colour match as possible. After this was dry I then added more and more layers of oil to blend the edge as much as possible, when I was happy with the colour, I then used a toothbrush to clean the hair of paint using warm water and a little dish soap.
|
|
|
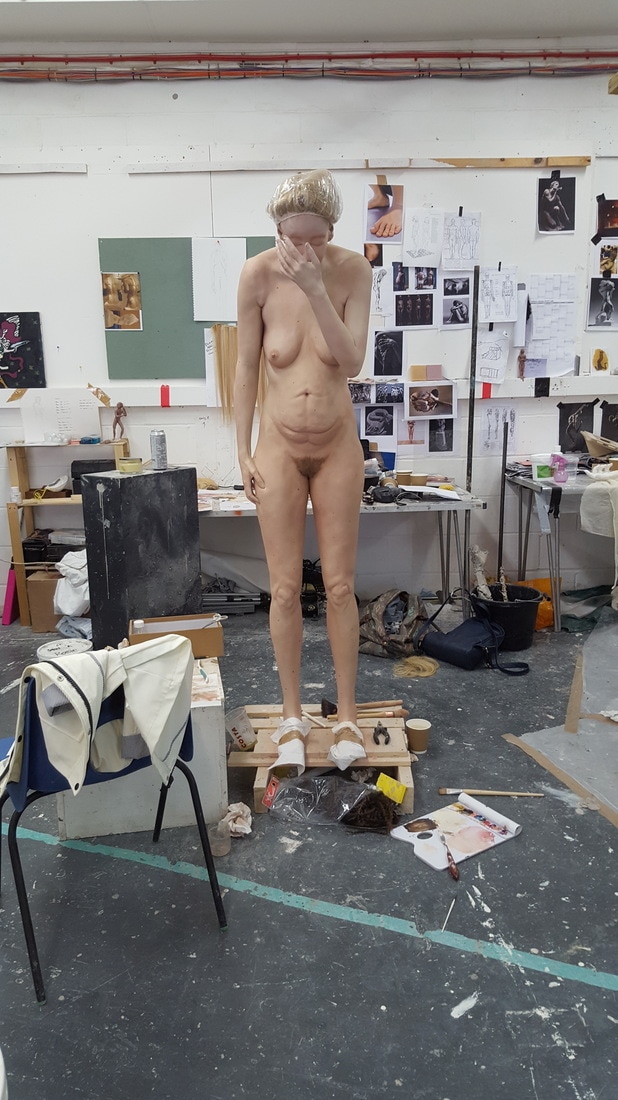

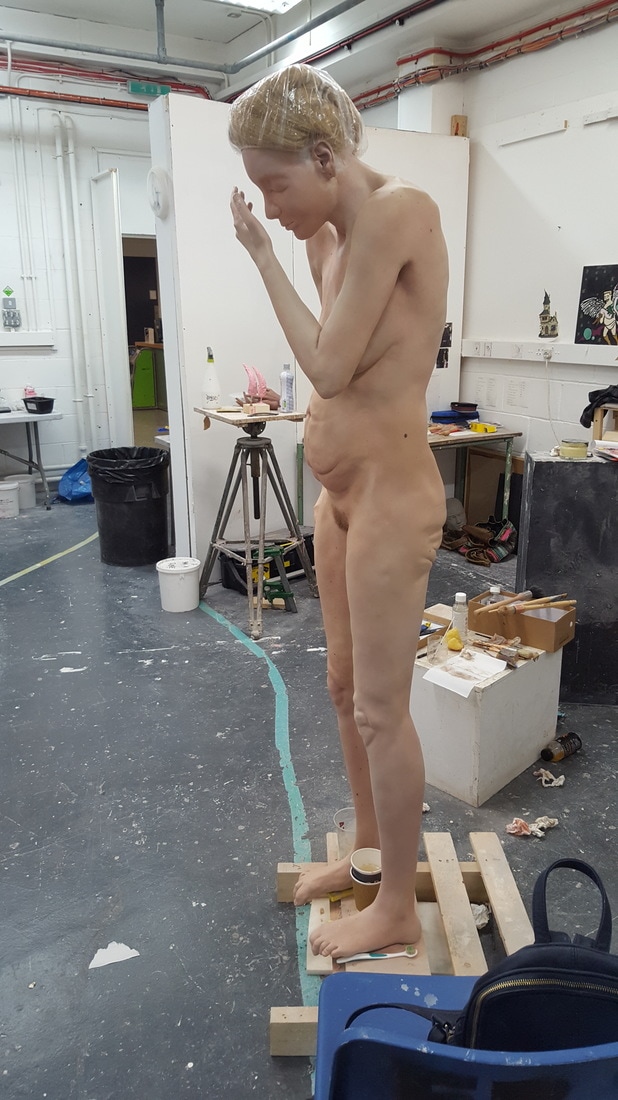
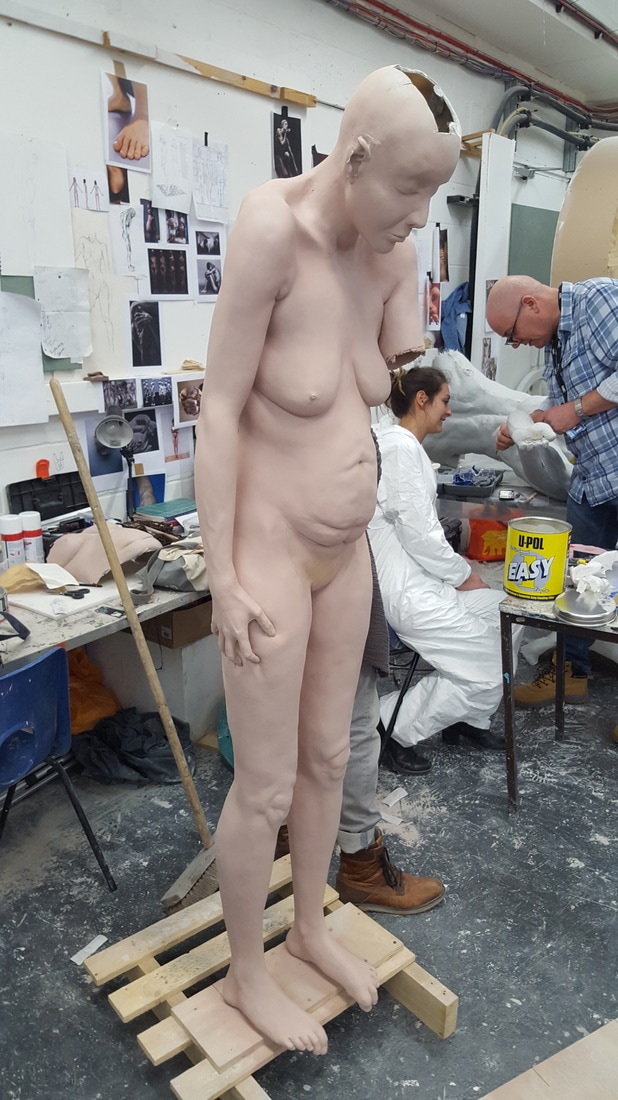
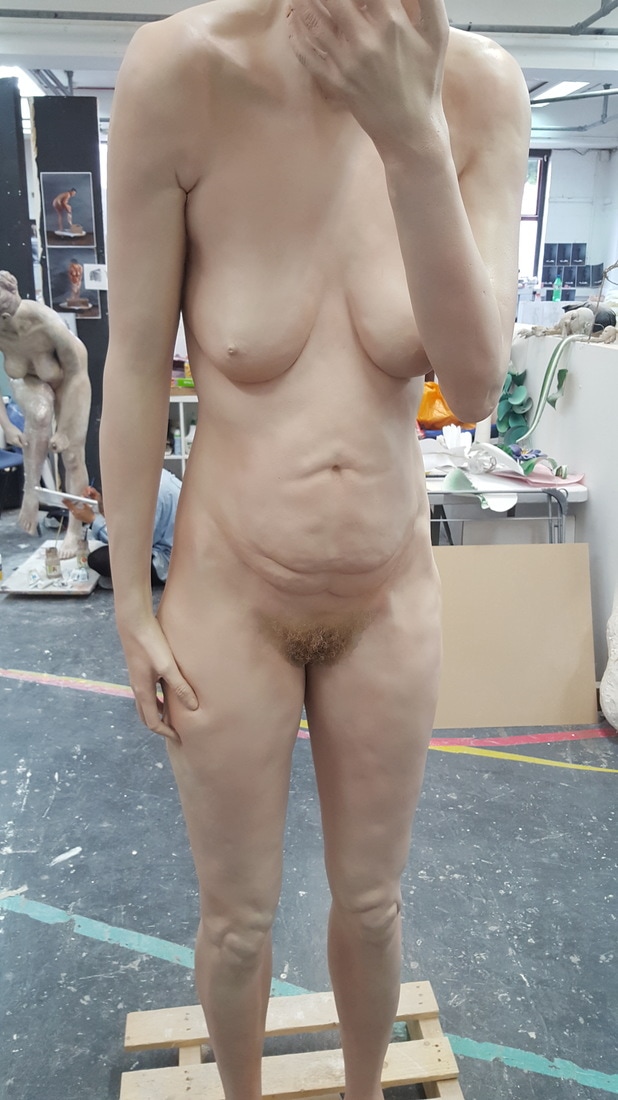
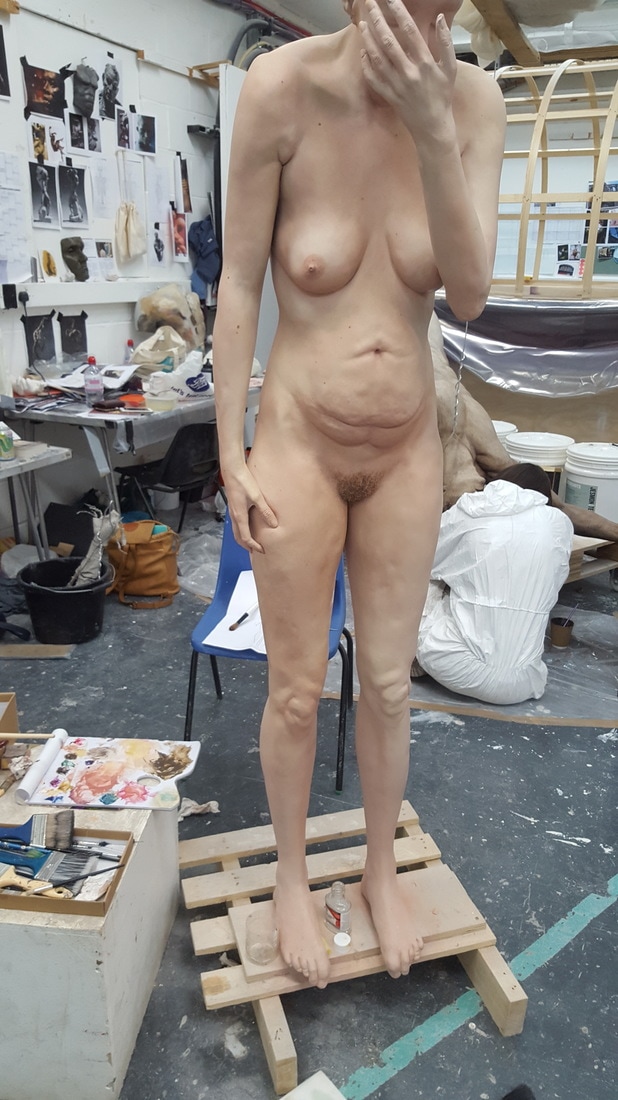
This is what the paint looked like finally. I will finish the feet and some touch ups when I am setting up the degree show so that I will know what colours to add when under the final lights.