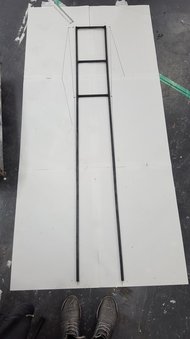
An armature is simply a solid structure to which clay can be applied, this is because clay could not support its own weight without a structure to adhere to. Using my detailed measurement drawings I began the armature by creating a lined drawing of a simple stick figure that could sit comfortably within the clay sculpture measurements. when designing the armature It was important to me that it was made as simply as possible, and due to the static nature of the pose I chose it was easy to create a simple square design. The two long bars would become the legs which are then reinforced by the horizontal bars. The middle horizontal bar became the location where the back bar will attach enabling the armature to stand up securely. all the metal were welded in place.
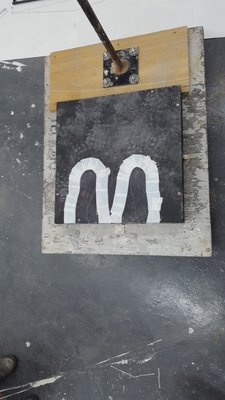
I created the base that the sculpt would be sculpted on using a plinth and a wheeled board, making it easier to transport the sculpt if needs be. Due to the element of having the feet hanging over an edge, I had to attach an extra box to create the feet. I continued to drill and bolt the back iron in place, the back iron used to stabilize the sculpt and enable it to stand upright. To make sure that the armature was placed correctly on the box, I used my own measurement of feet to create an outline using tape. I can now pinpoint where my heels are, enabling the armature to go through the leg undisrupted. It is important that the armature sits in the sculpt centrally because once clay is applied it would be very difficult to alter the steel bars at that point.
|
|
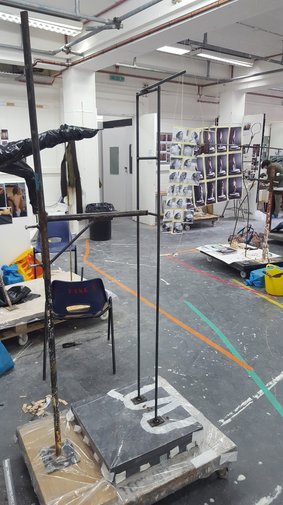
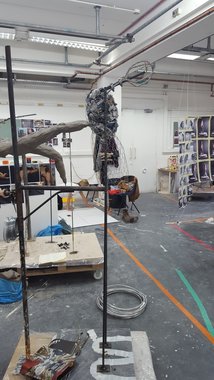
This Is the basic armature, which has been welded to the back iron, and also been bolted to the base to avoid as much movement as possible. The neck bar has also been welded, and I will then use this to attach a simple head armature made of two loops, and the arms will be attached by jubilee clips to the shoulder bar, these will be made from aluminium.
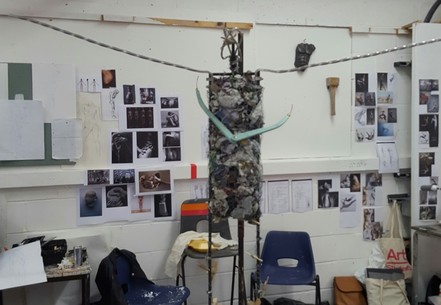
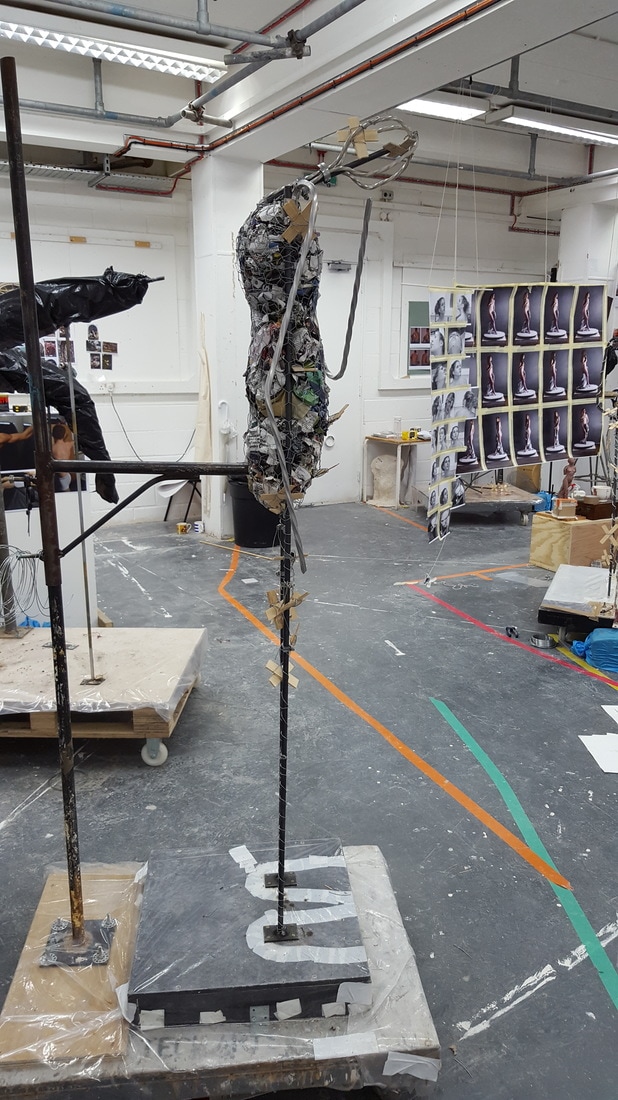
The head armature is attached to the main armature by jubilee clips. Once the head was attached I could begin to pad out the body cavity. The armature itself isn't substantial enough to hold up the clay by itself, I needed to create a surface that the clay could grab onto. I created this by making a cage of chicken wire, secured to the armature with wire and I then padded it out with newspaper. To strengthen further I attached butterfly clips to the armature. Butterfly clips are two pieces of thin wood bound together with wire to create X's that would then be attached to the armature and enabling the weight of the clay to be carried evenly.
I attached the arms to the armature, again using jubilee clips. The aluminium arms were created by cutting them to size and then by spinning the aluminium so that it coiled slightly. I did this using a hand drill, by placing one end in a vive and the other directly into the drill end, the aluminium spins and holds the shape. This is important because it gives the clay something to adhere to. during the process of creating the armature I kept in mind that it needed to fit within my clay, I did this by referring to my drawing measurements and using callipers to make sure it would be thinner than the clay sculpt itself.
|
<a>
|
<a>
|
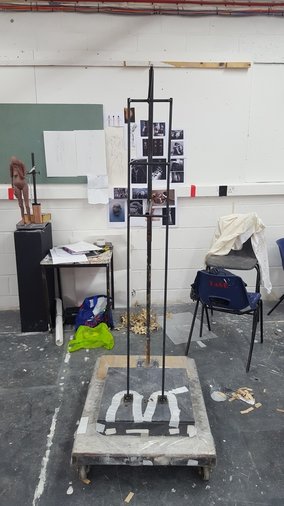
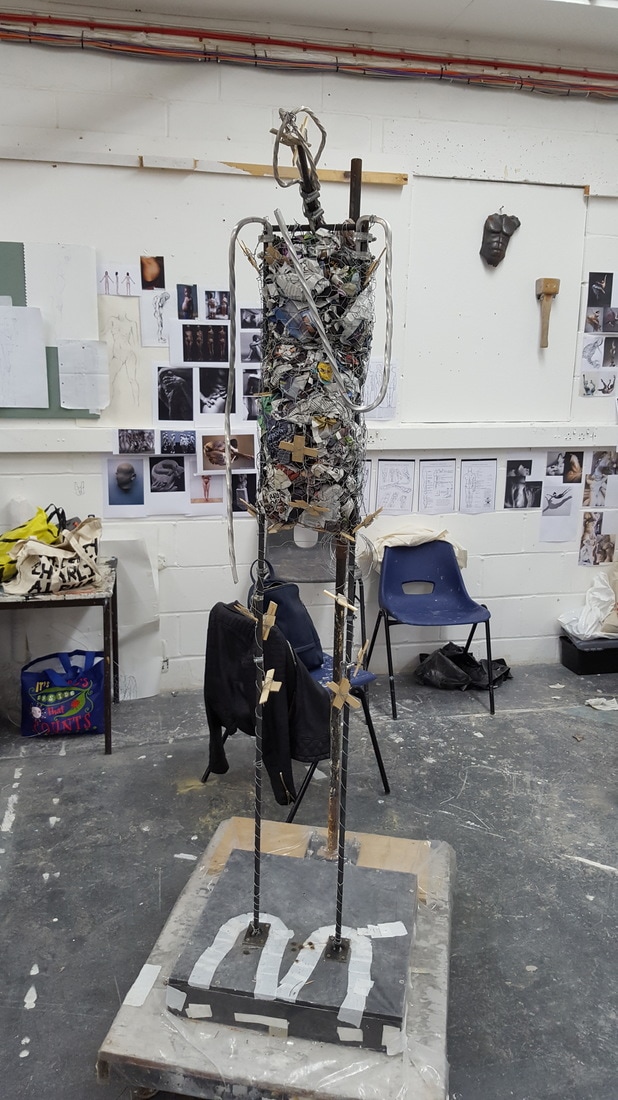
This is the final armature, ready for the clay sculpture to be started.
