|
|
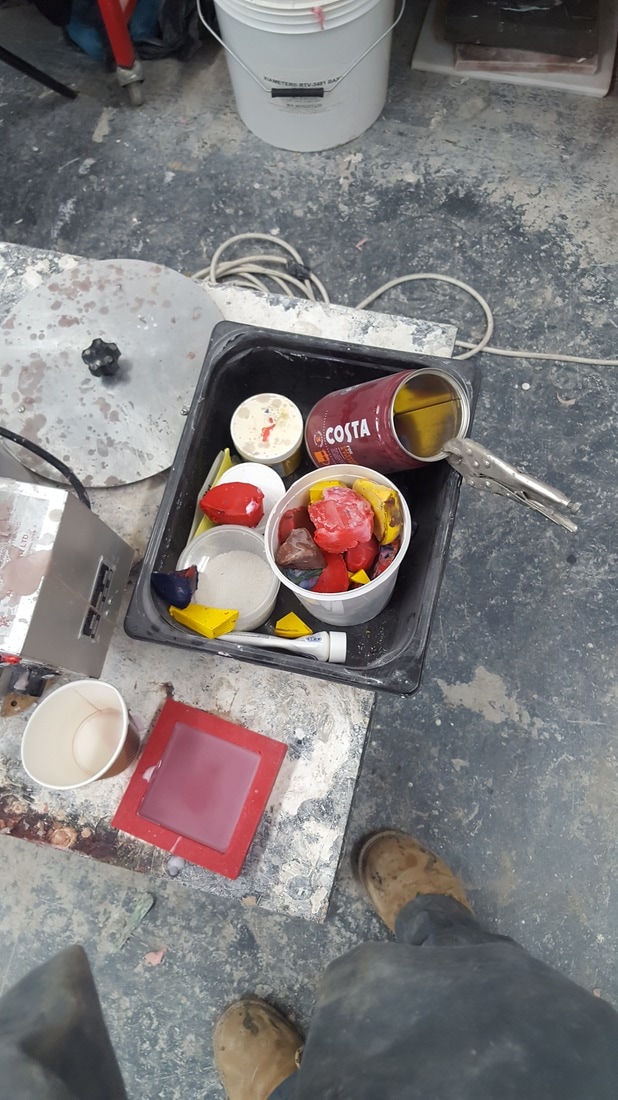
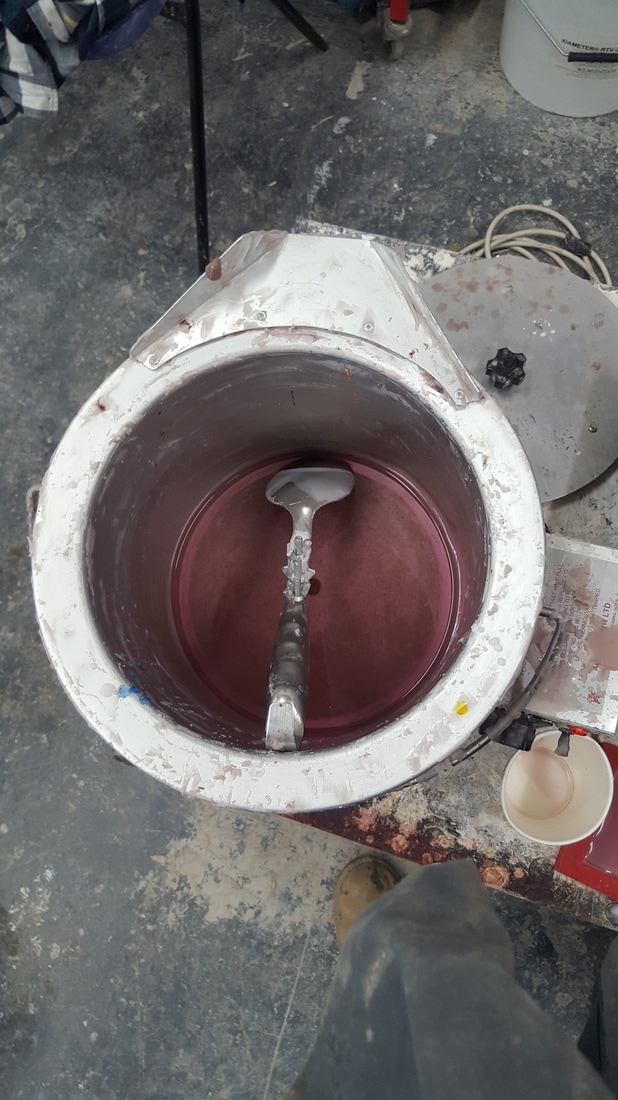
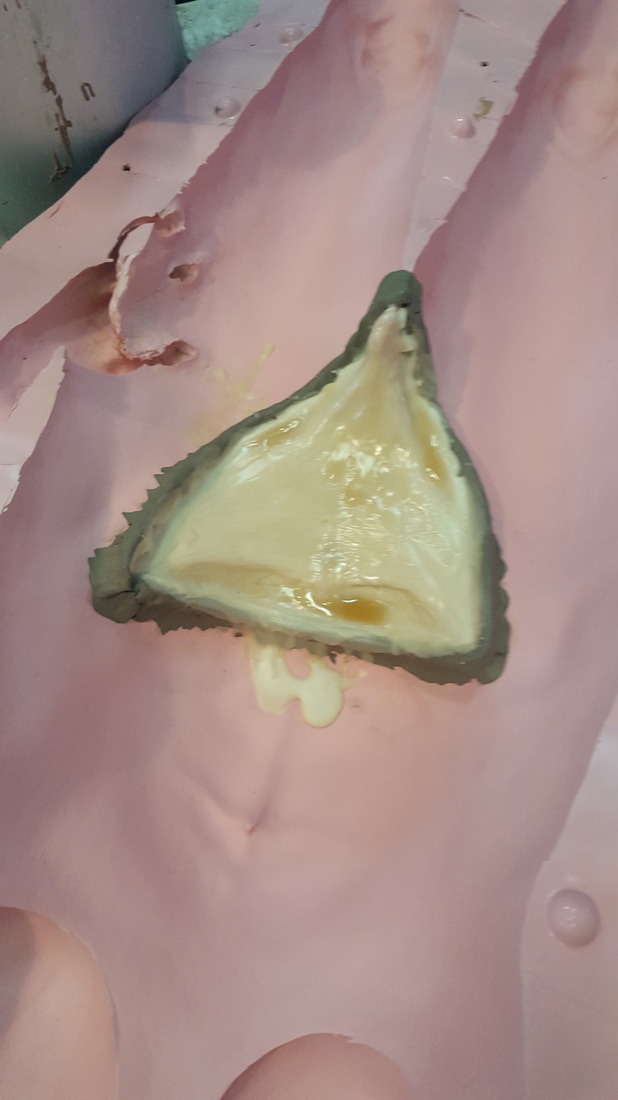
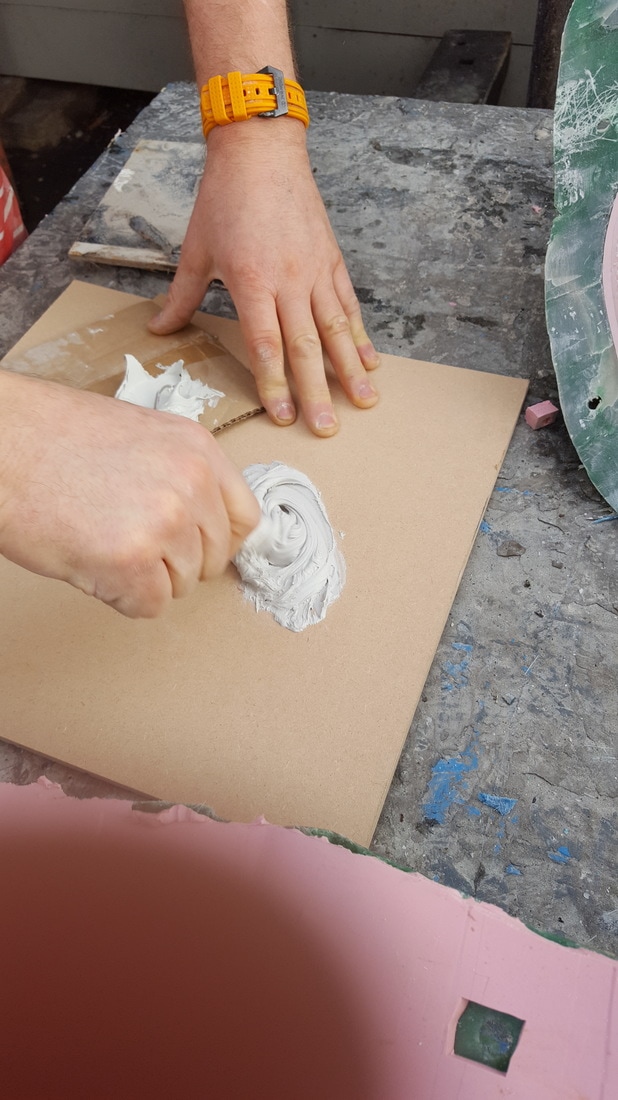
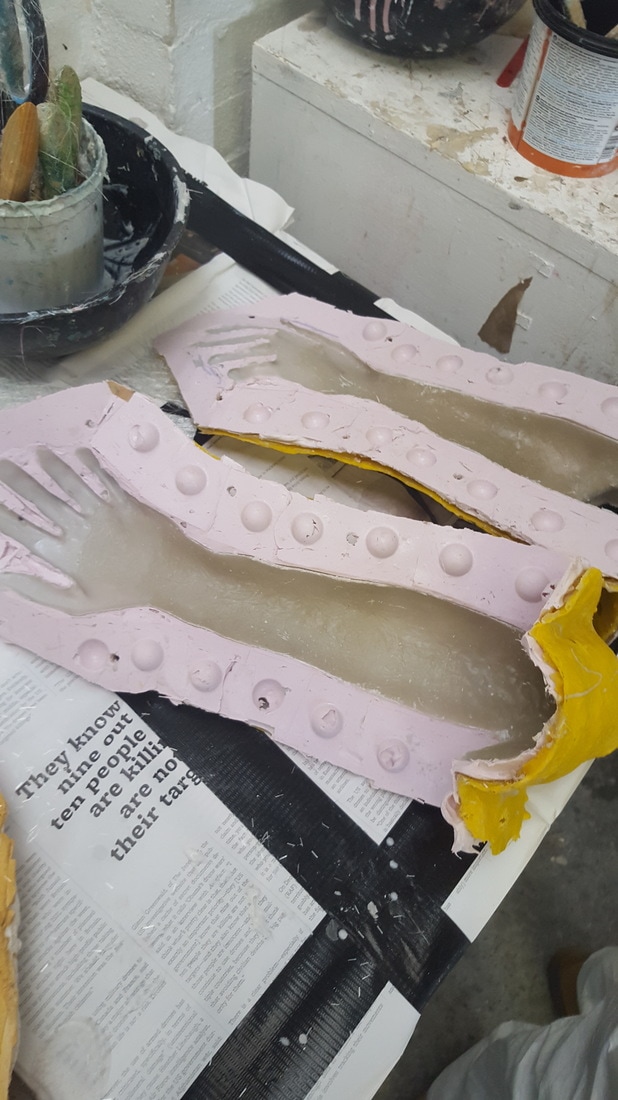
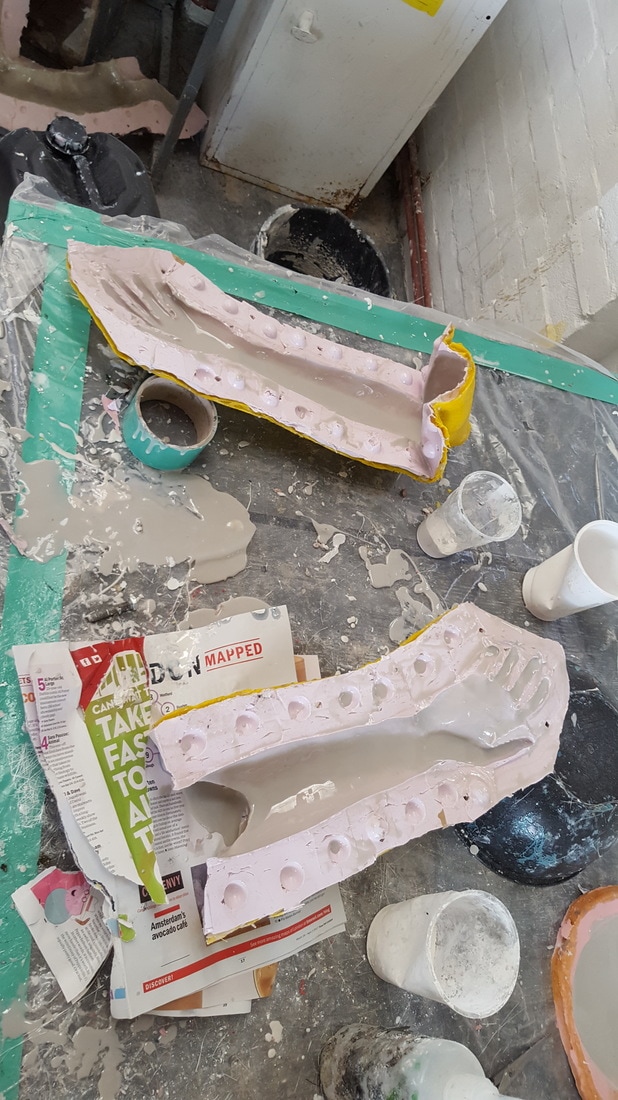
Before I could begin to cast the final sculpture from the mould, I needed to first create the wax insert that was to be the genital area. This was so that I could hair punch genital hair eventually. I began this process by colouring some microcrystalline wax to the desired colour using my skin as a reference. This wax will eventually be painted to match the fiberglass cast. To colour the wax I used wax pigments melted with the wax in a crucible. It is important to note that the pigment of wax colour was used sparingly and that it changed colour when set.
|
|
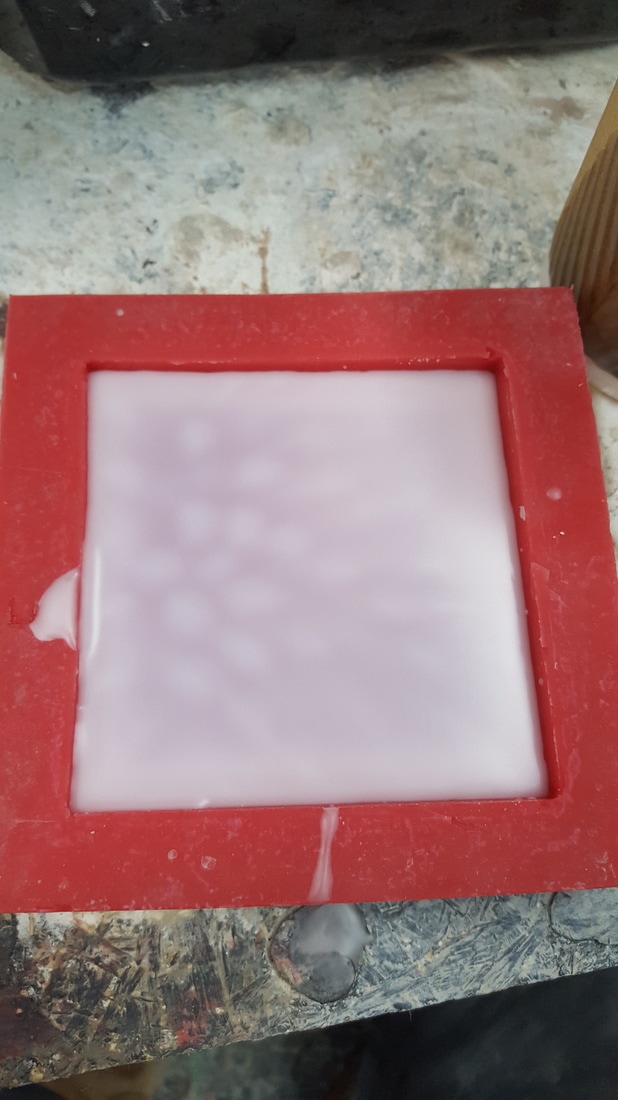
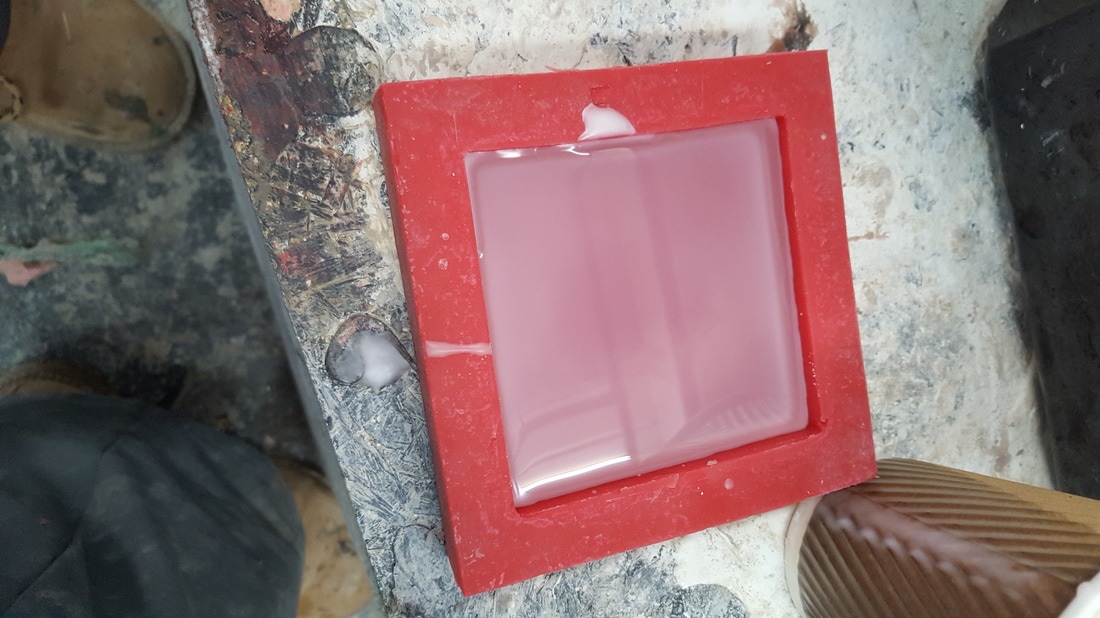
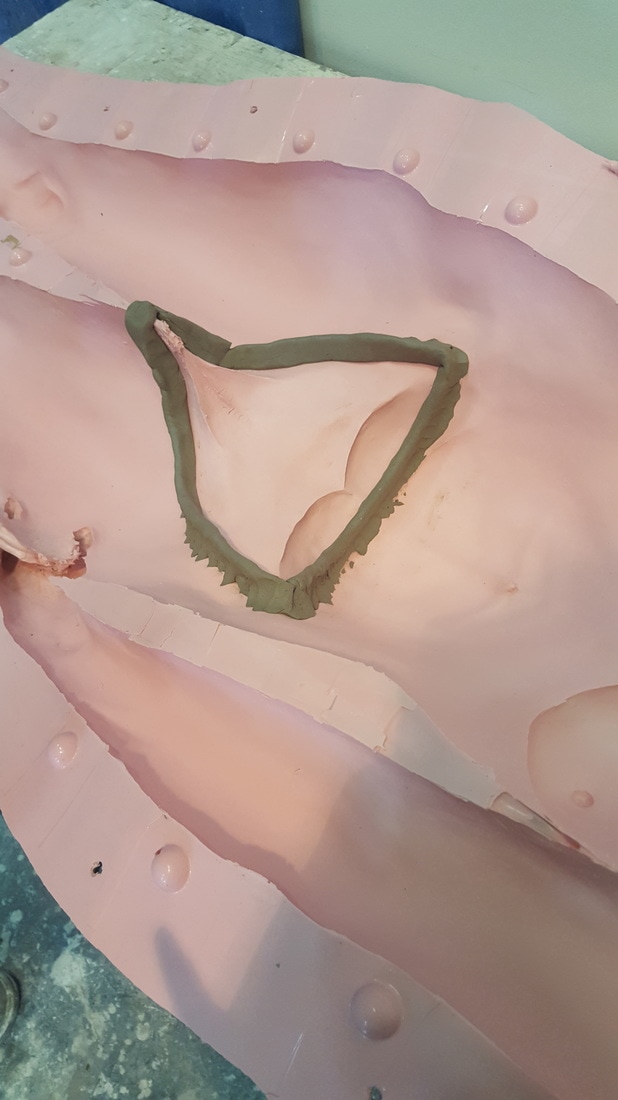
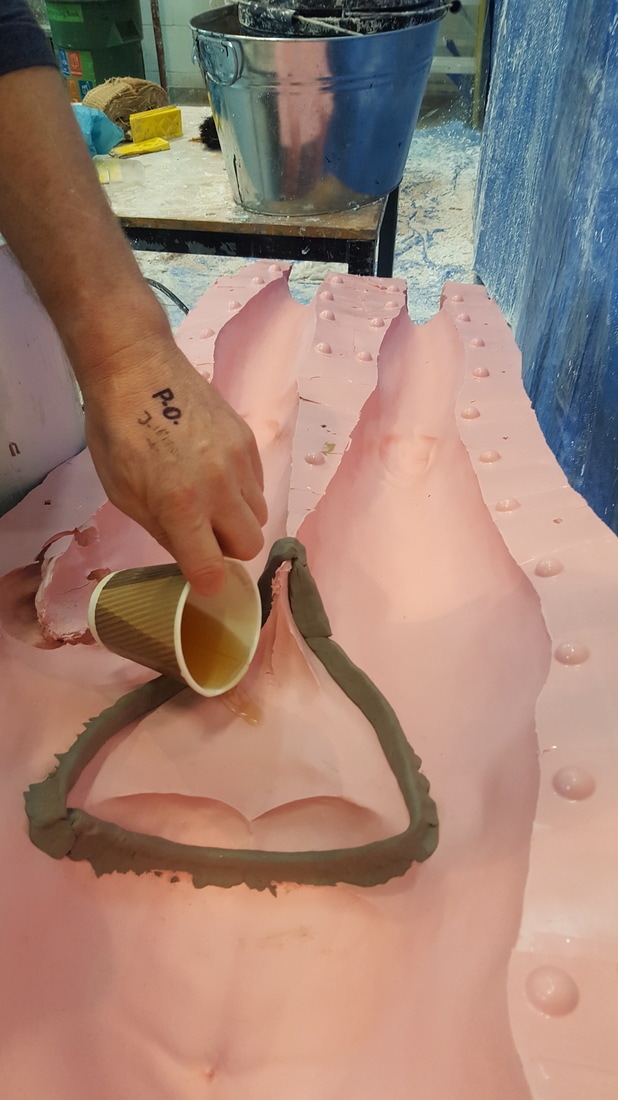
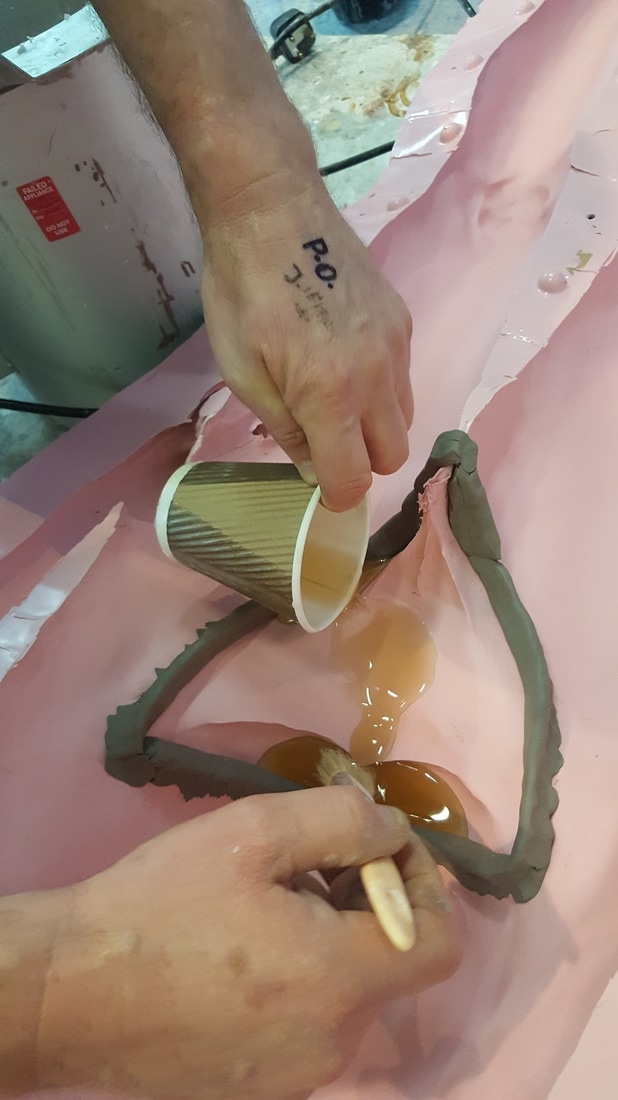
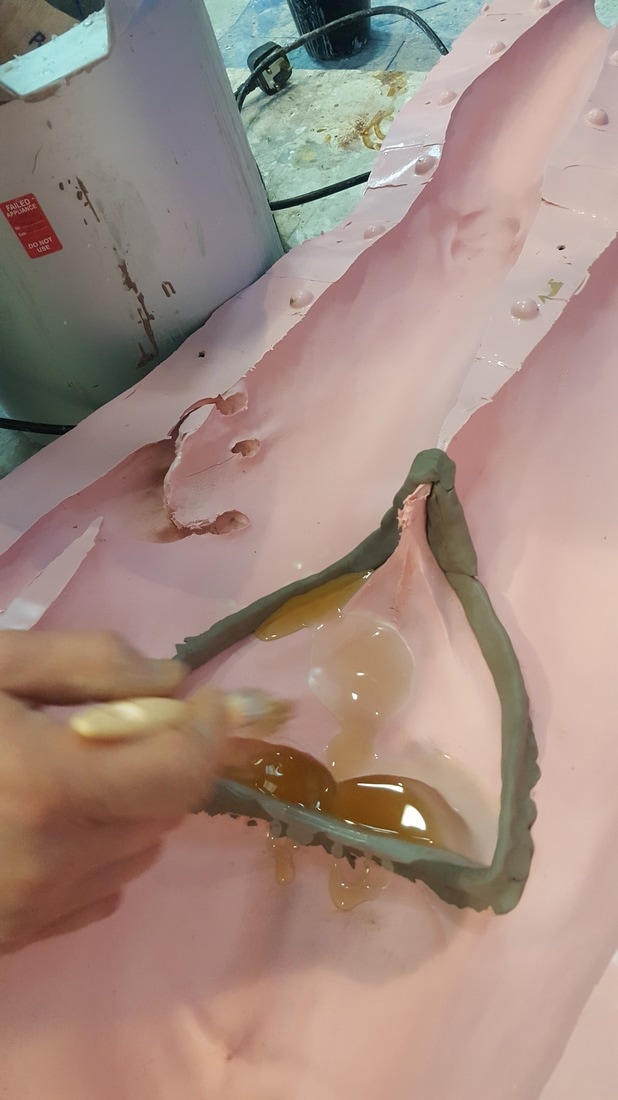
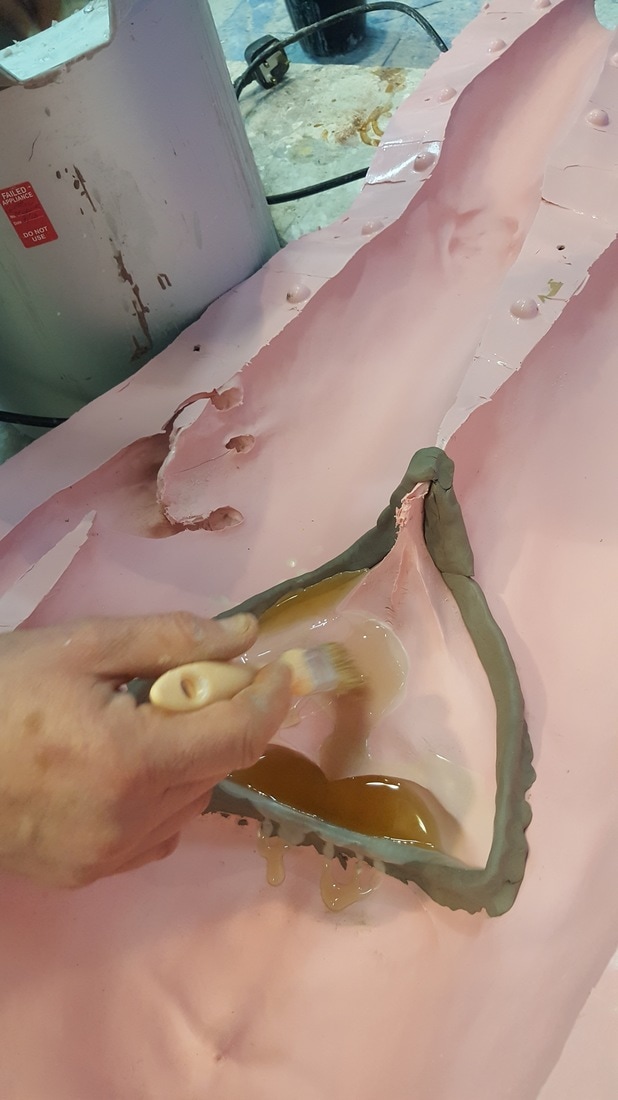
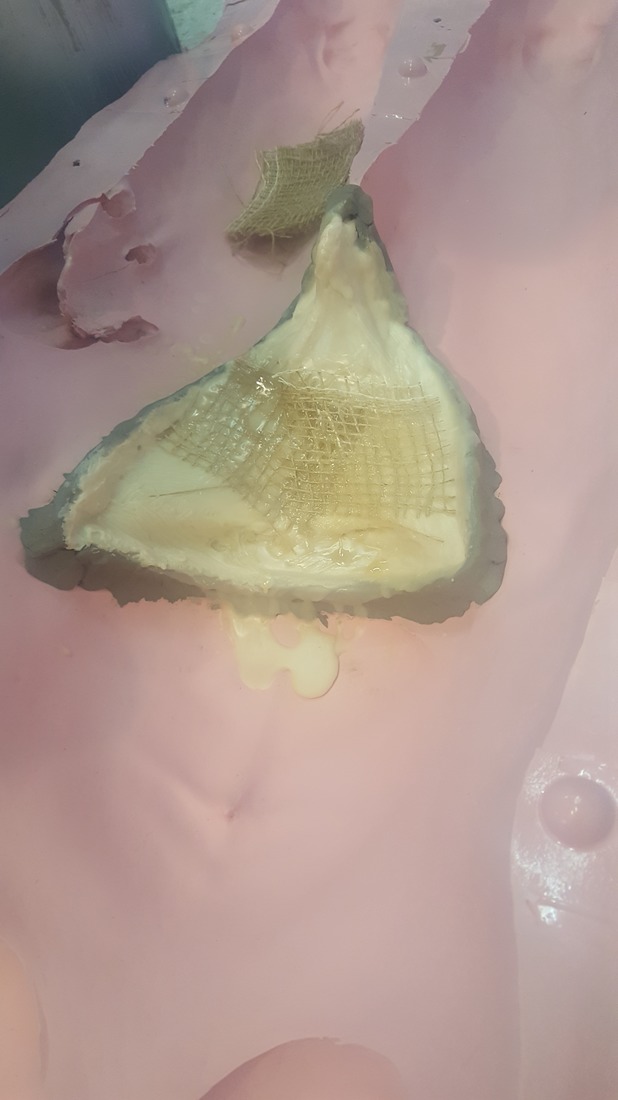
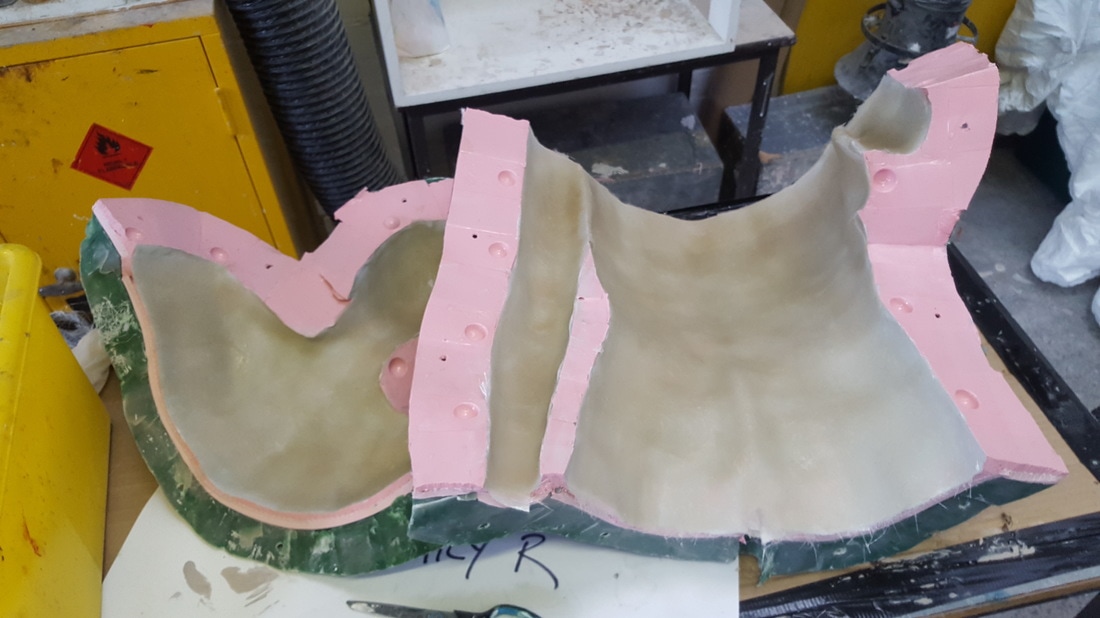
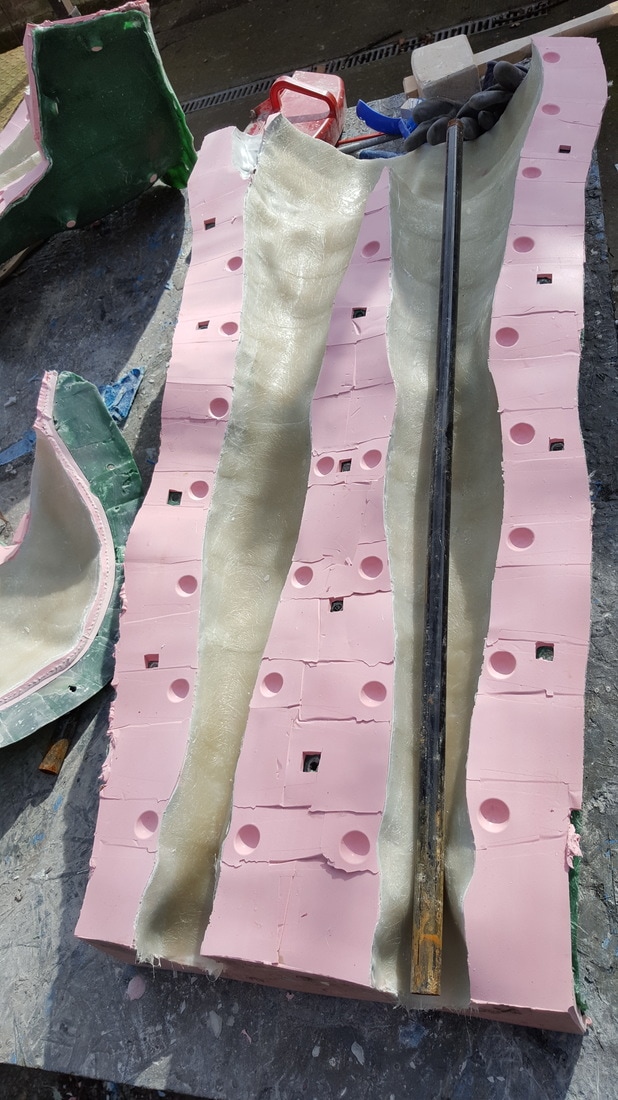
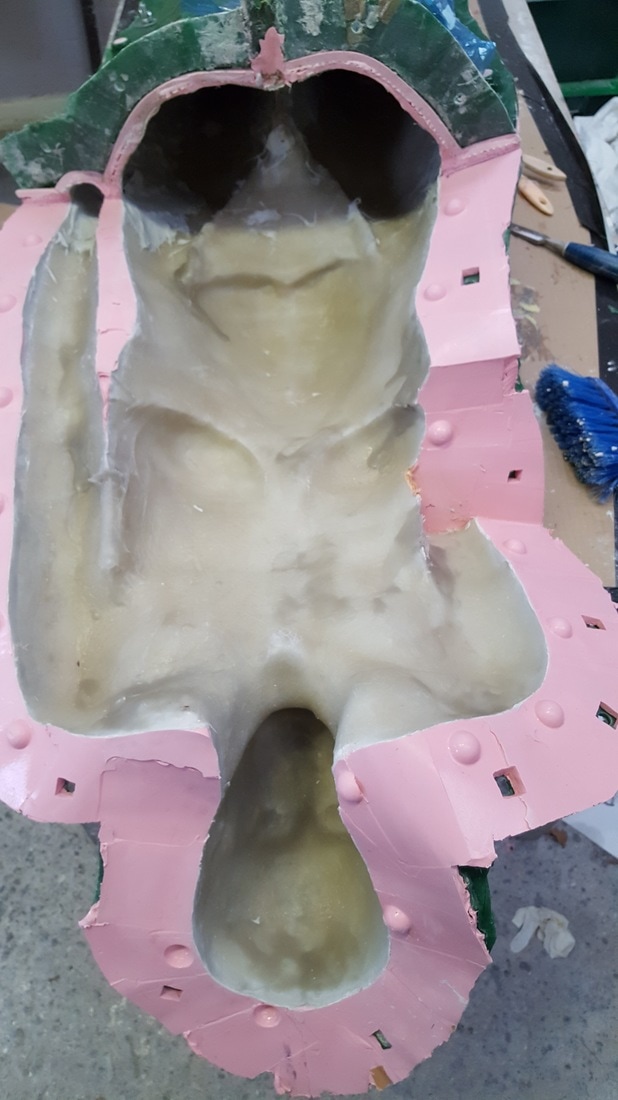
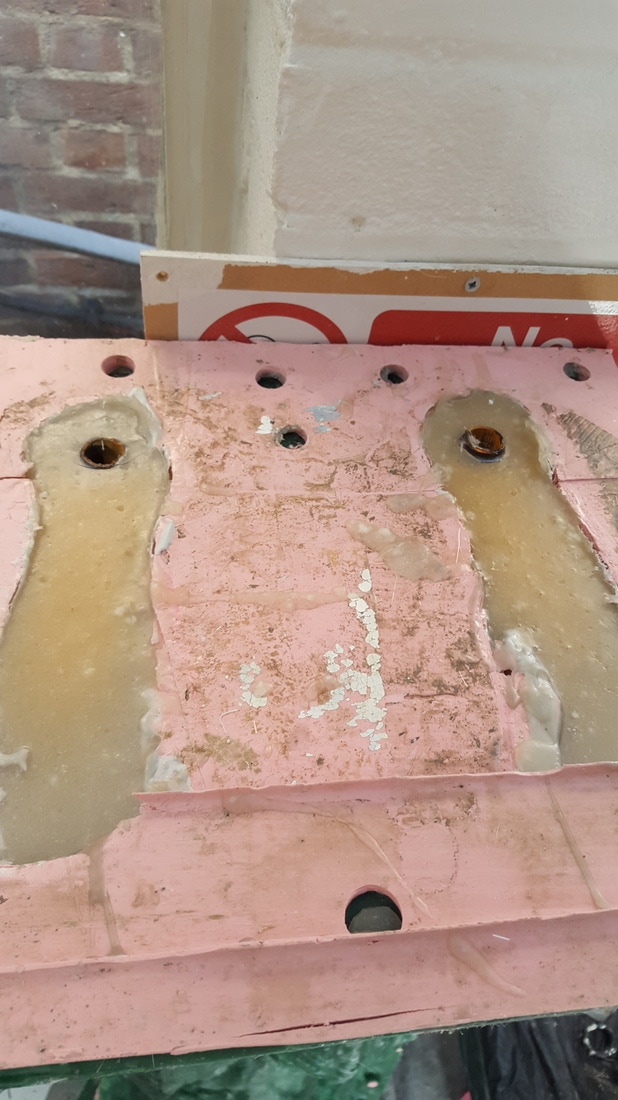
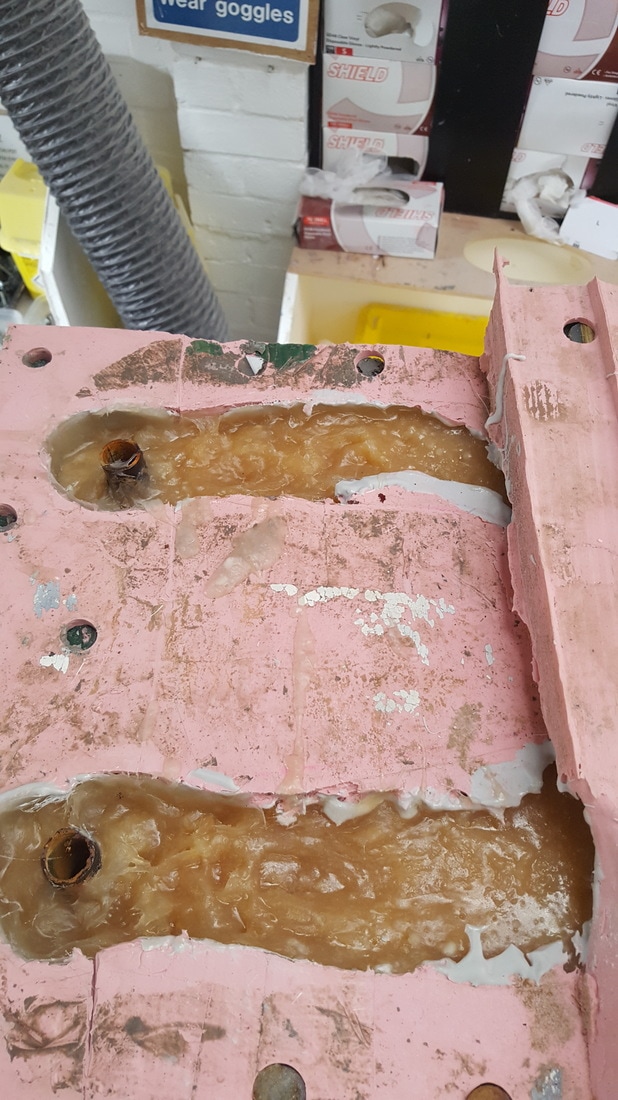
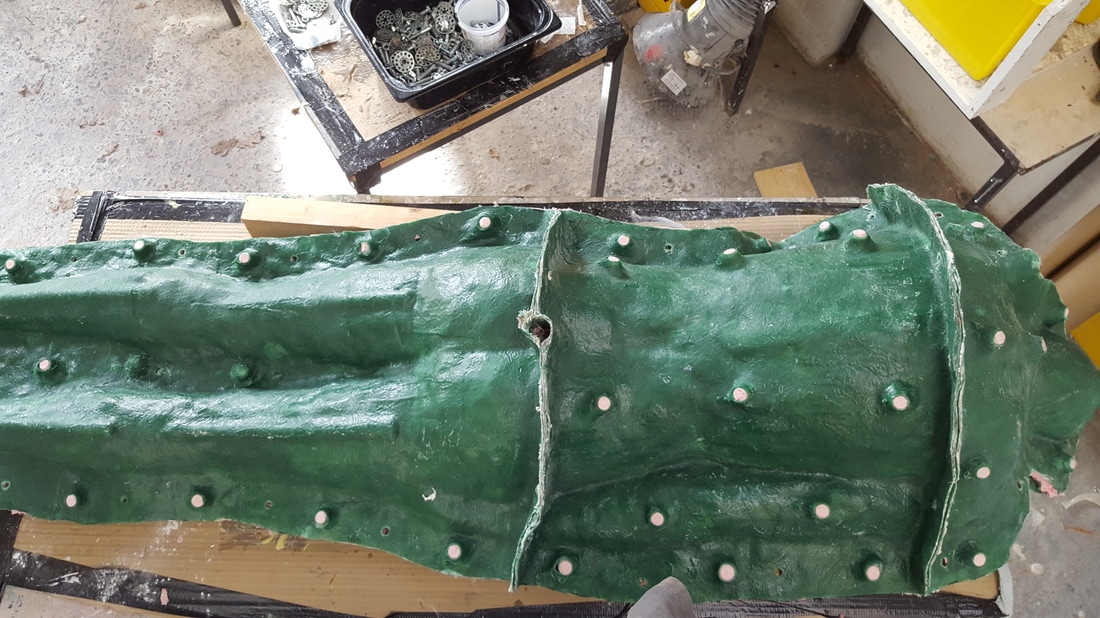
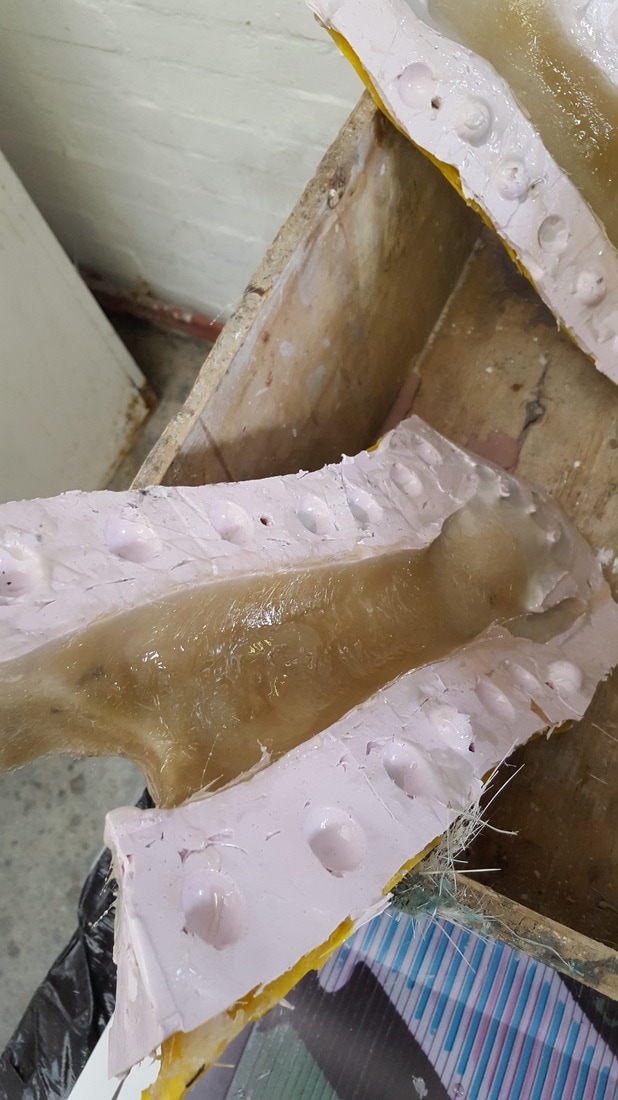
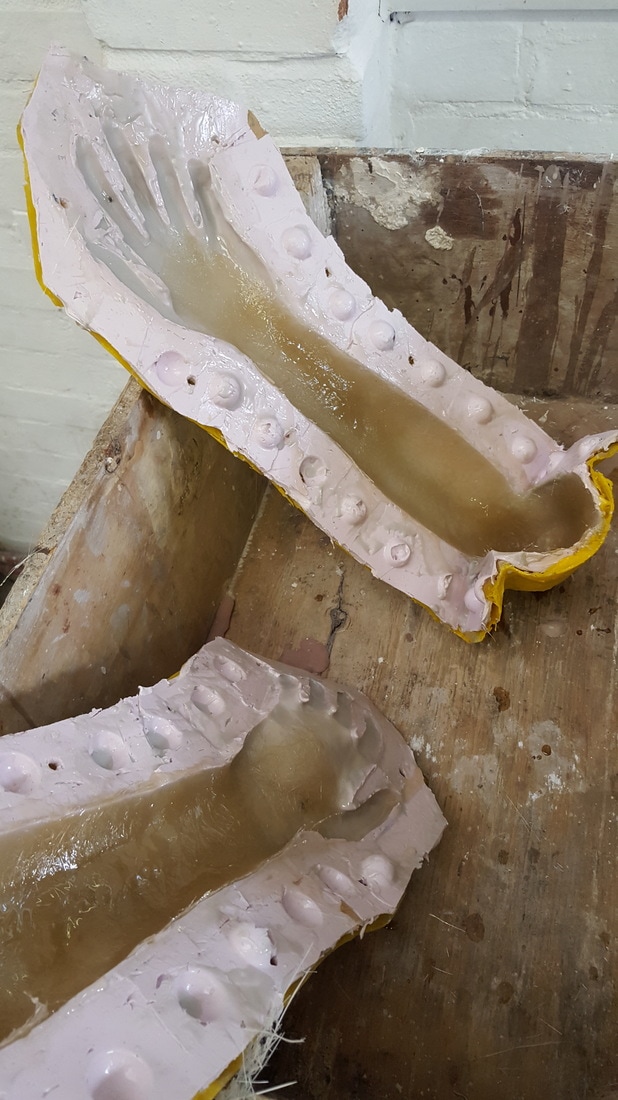
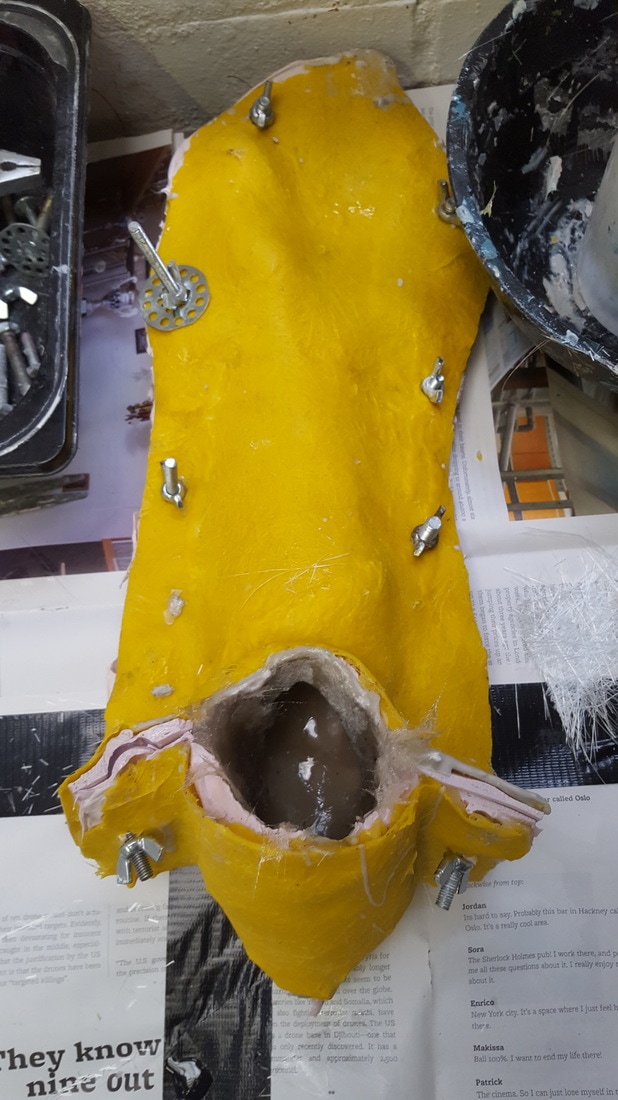
Once I had created the desired colour of wax, I began the process by building a clay wall that surrounded the genital area in my mould. I then carefully poured the molten wax into the mould. Using a brush I created an even thick layer of wax, and to add strength, added some hessian material to the top layer of wax. This will also aid in bonding the wax insert to the resin. When the wax was set, I removed from the mould, and created a second to use as a tester. The original was then replaced in the mould and this was then ready to have fiberglass added.
|
|
|
|
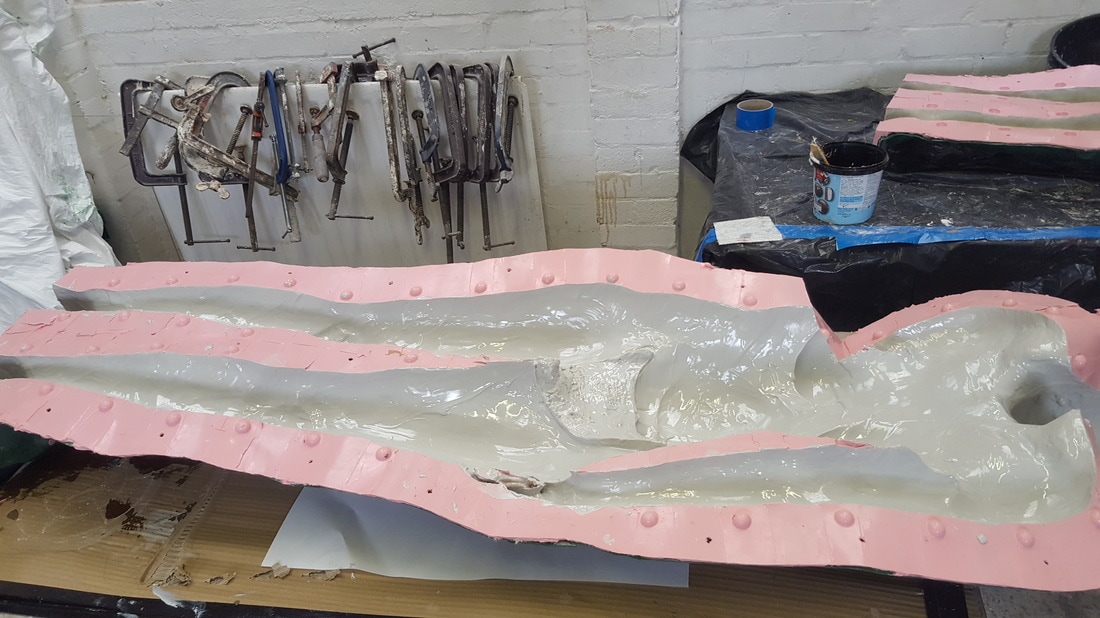
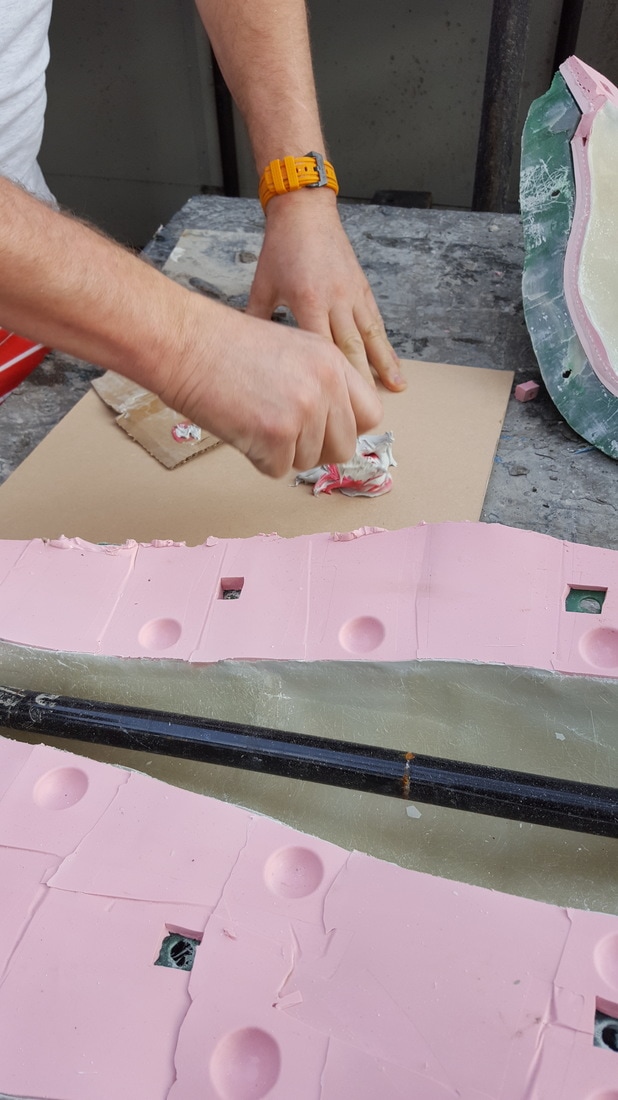
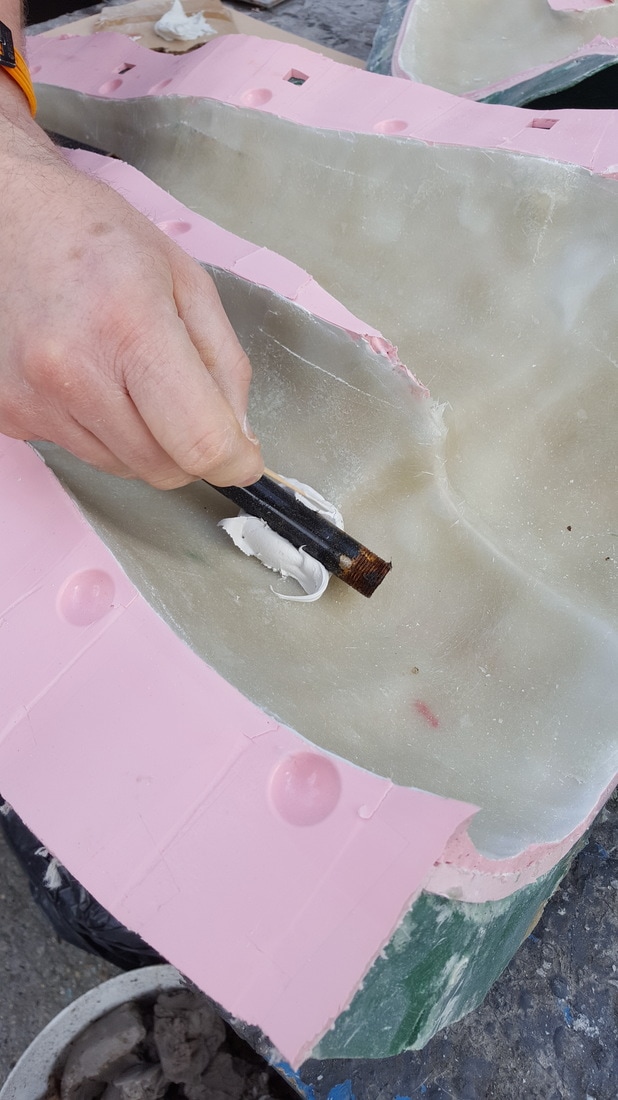
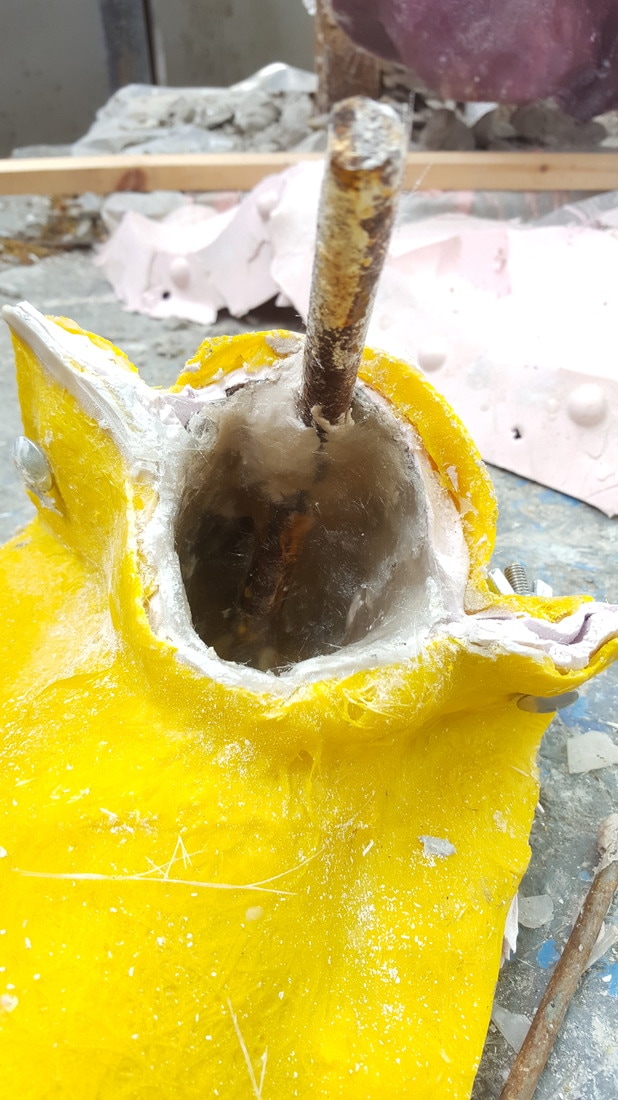
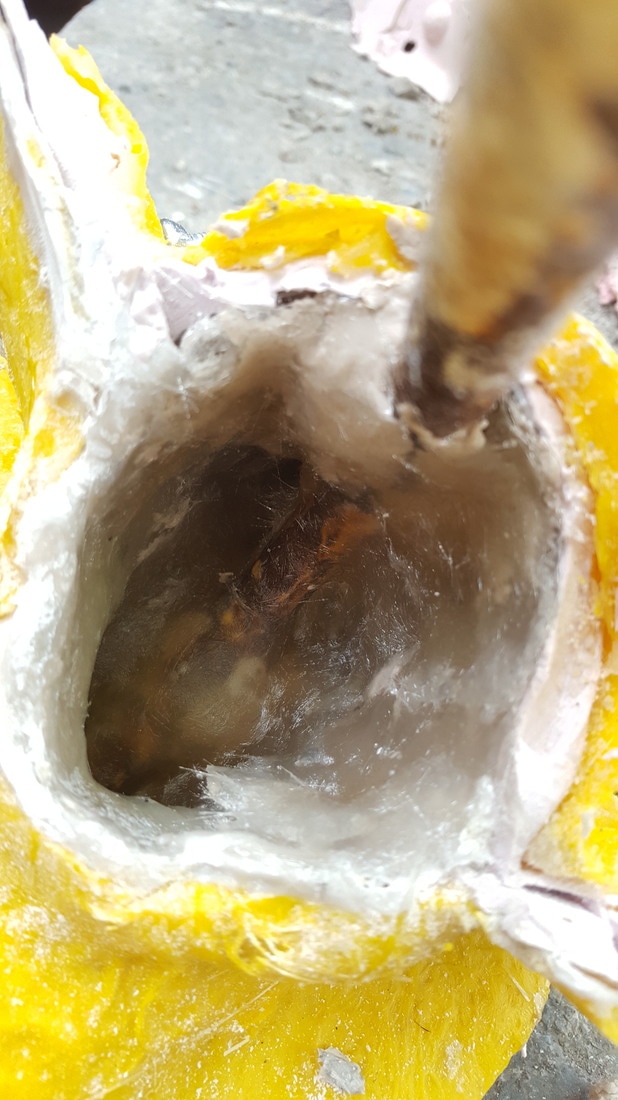
The first step in createing the final cast was to add the first layer which is called the 'Gel coat'. This will be the surface of my sculpt. It is made up of resin, catalyst, colour pigment (in this case gray) and INSERT TERM HERE!!! one layer of this is added to all the mould pieces. This layer isn't as strong as the second layer which includes the matting, but it gives a better finish to the surface. The wax insert was simply covered over with resin.
|
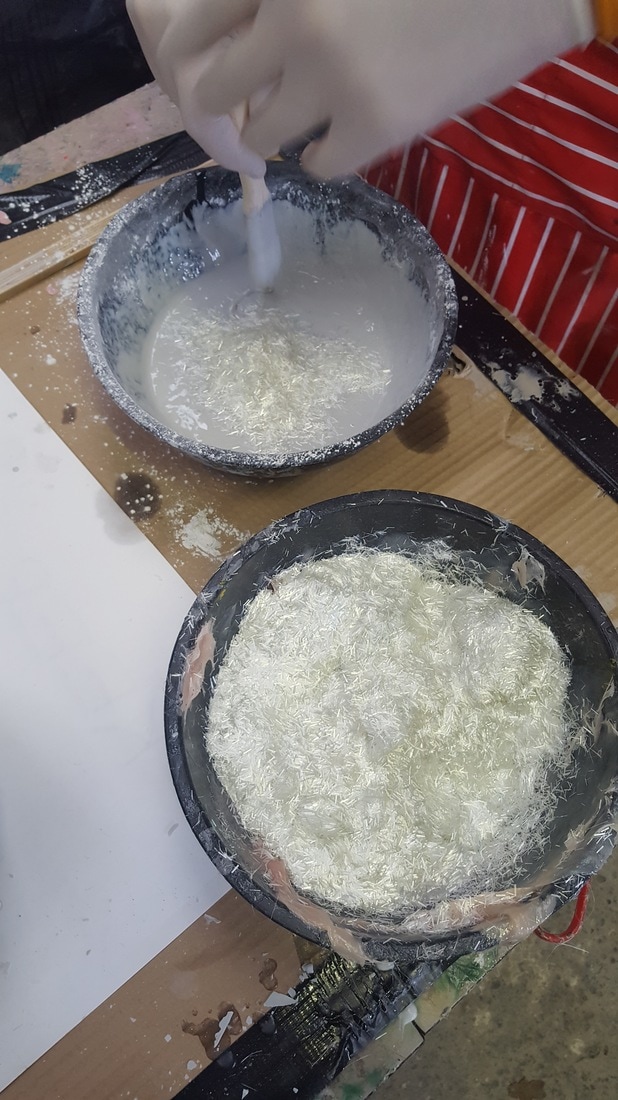
Awkward areas such as the hands and the ears, areas that I couldn't apply matting to would be eventually made solid using a mixture of resin, catalyst and chopped strands (tiny pieces of resin matting) to give it its strength.
|
The next step was to add two layers of resin matting, to the mould to give the strength needed. This layer consisted of resin, catalyst and fiberglass mating cut into squares and wetted with resin making sure to go as close to the side of the mould as possible.
|
|
|
Once the layer of resin matt was applied to every mould piece, I then began cleaning up the edges of the mould and making sure that the mould went back together correctly. This will eventually make the seams better. Points in the mould were difficult to apply matting to, as the material had a habit of creating air bubbles. I corrected this by simply filling any void with spare gel coat.
|
|
|
|
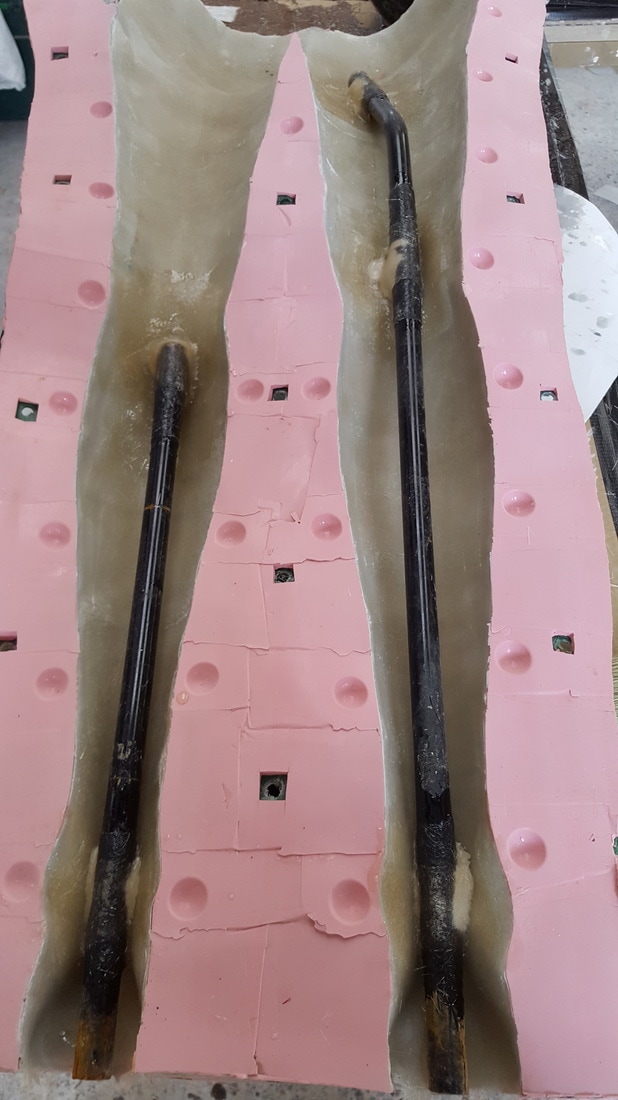
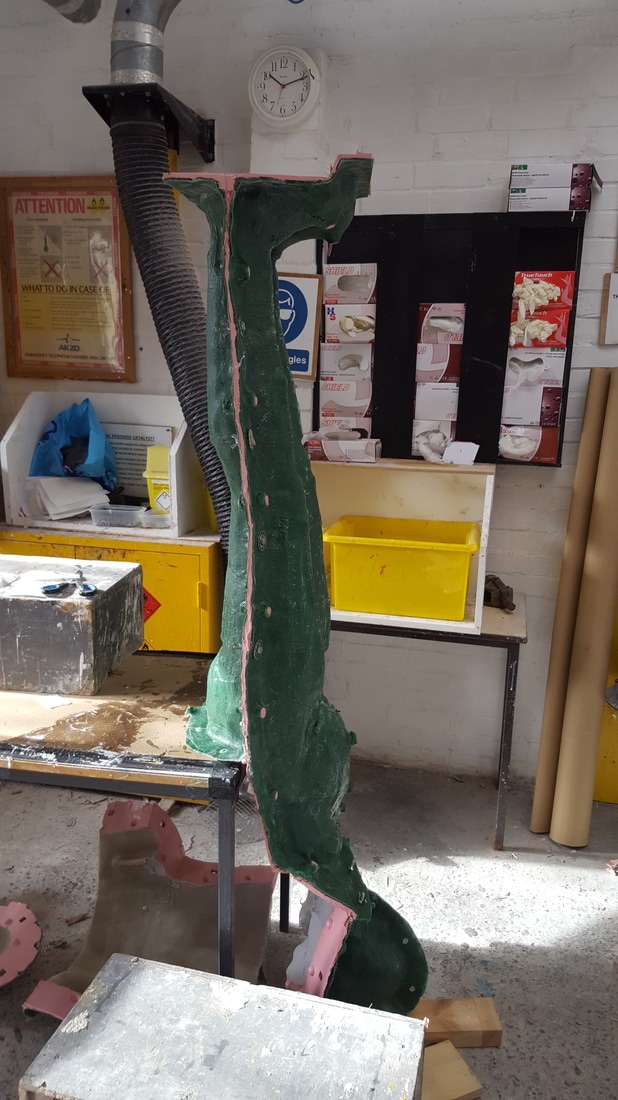
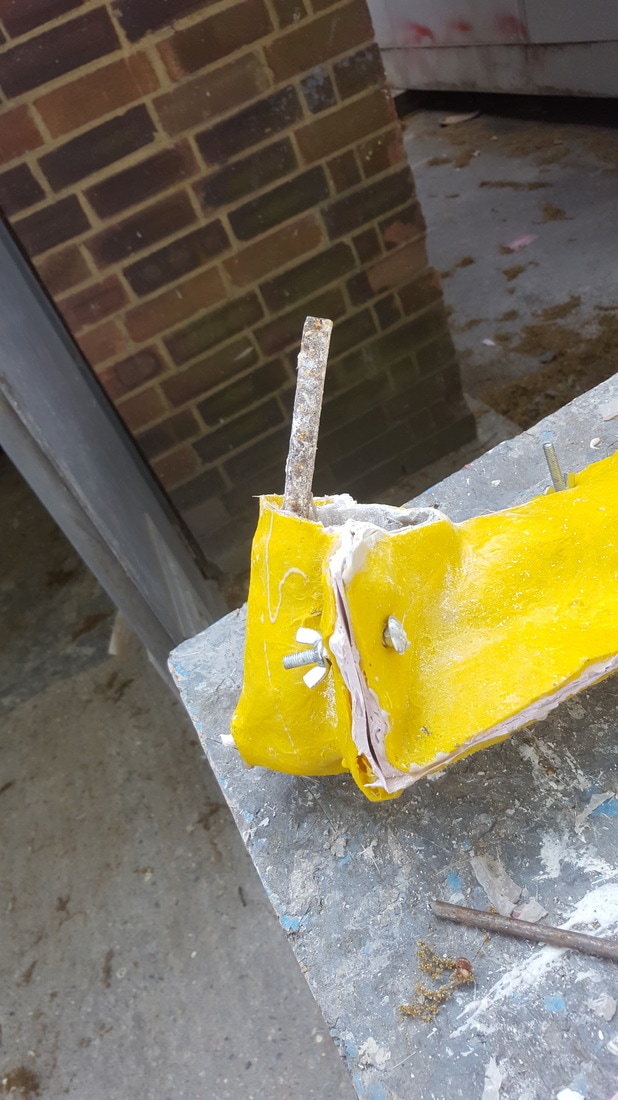
The next process was to add poles to the legs, so that eventually the sculpture could be secured to a base. This was done by measuring a pole to each leg, and bending according to the leg shape, and by using car body filler, securing temporarily in place. The pole was then resined into place inside the leg.
|
|
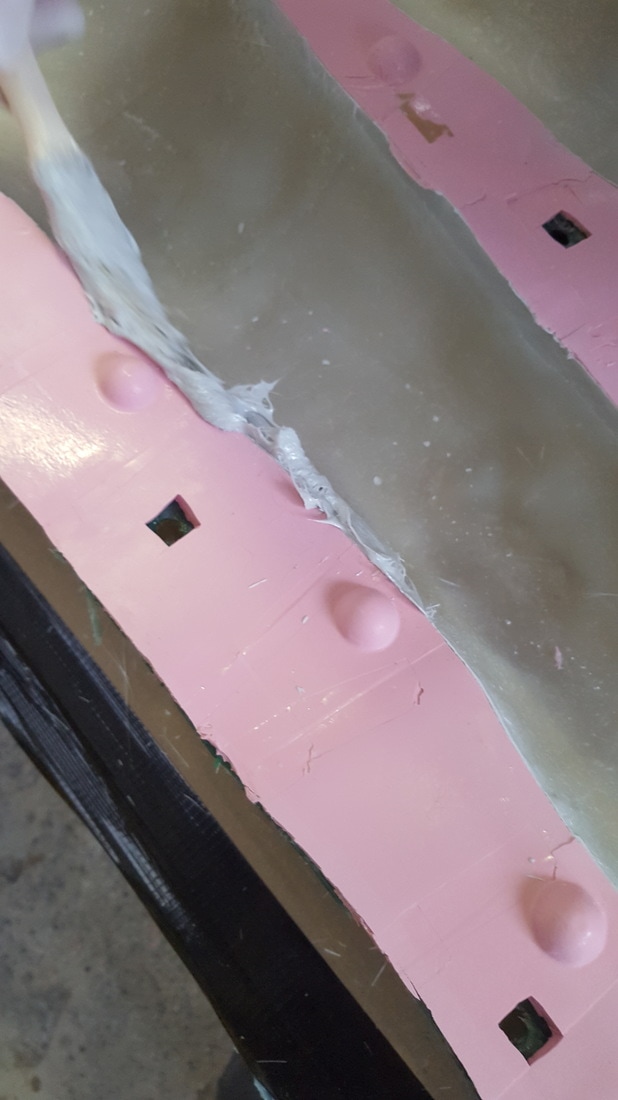
Finally the time had come to attach each piece of the mould together to create the final sculpture. To do this we began with the main body piece (the front) and began securing the back of the leg mould to it. This was done by piping a mixture of gel coat, resin, catalyst and chopped strand to the very edge of the mould. The two halves were then pressed together and where possible smoothed over the seam on the inside of the mould.
|
|
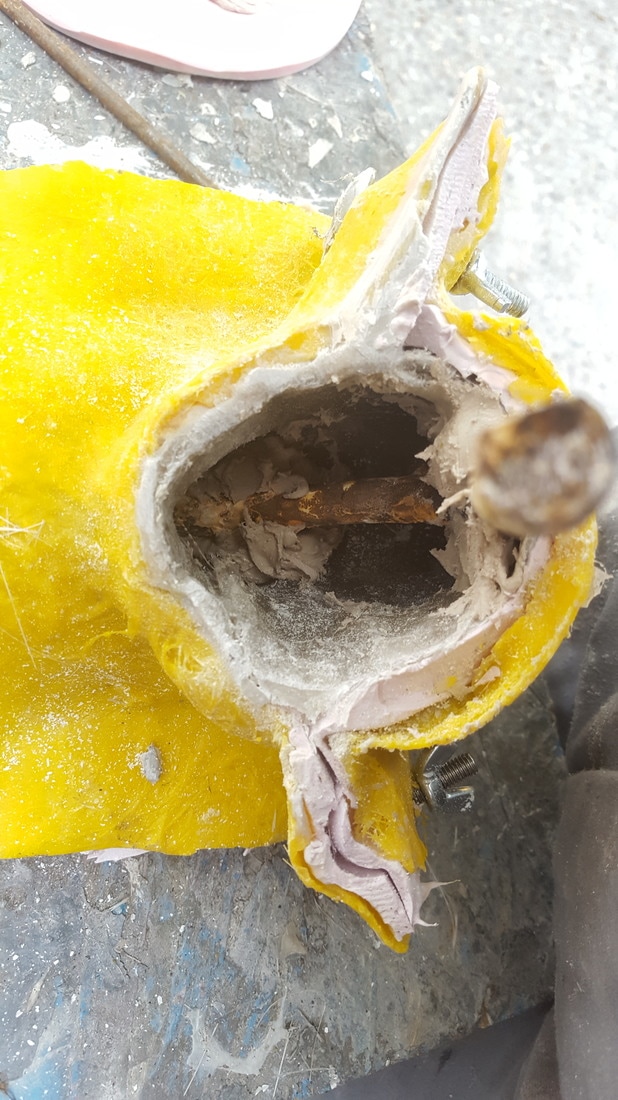
Before the other mould pieces were attached, the feet were made solid by creating a blockage in the ankles using newspaper and filler, and then resin mixed with a little chopped strand was poured into the feet upside down so that the feet were solid resin and this added strength to where the weight was going to be centred. The whole mould was flipped vertical so that the feet set flat.
The rest of the mould pieces was then attached using the same piping method used previously, the mould was bolted together tightly and this was then left to set overnight.
|
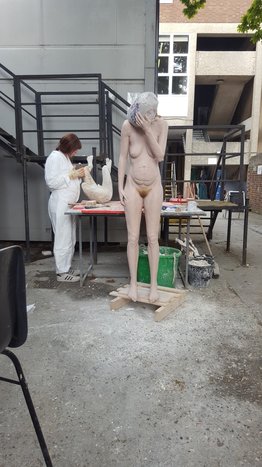
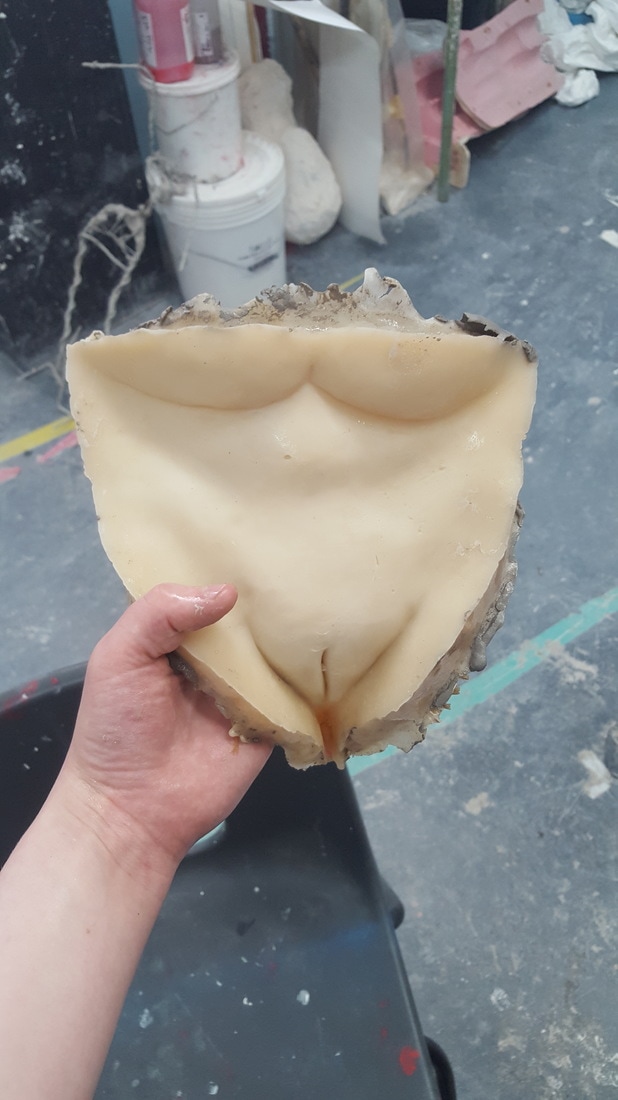
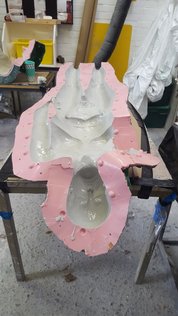
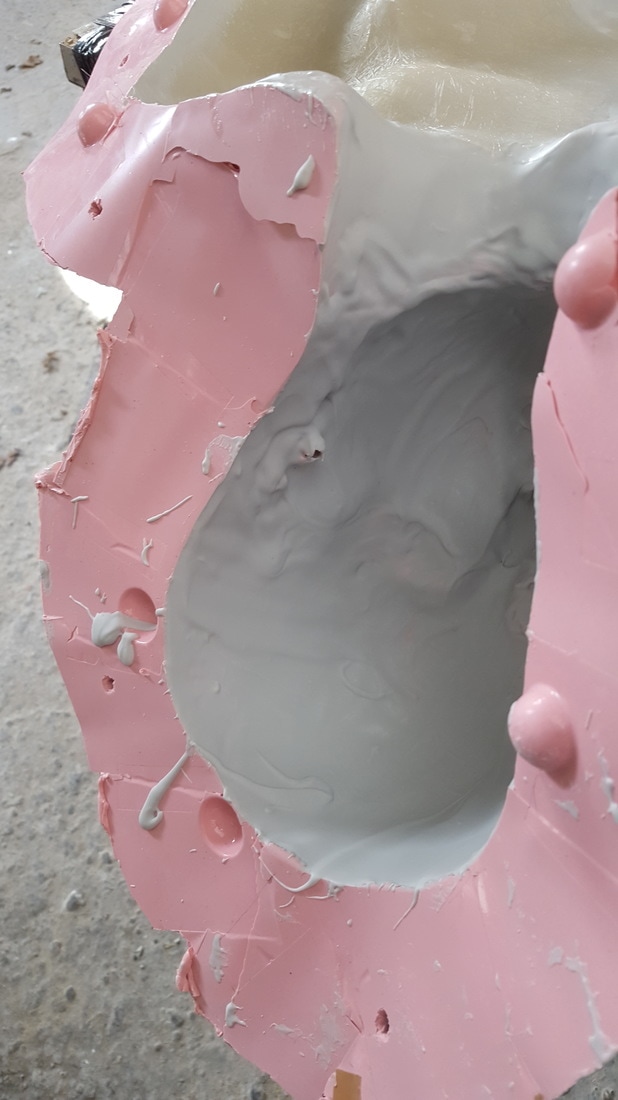
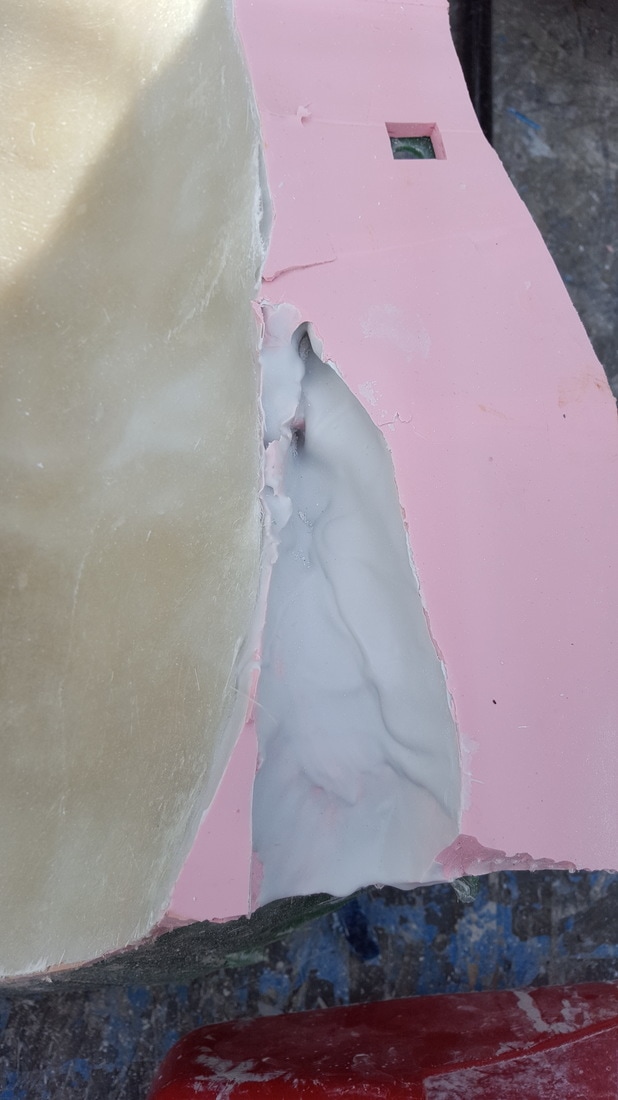
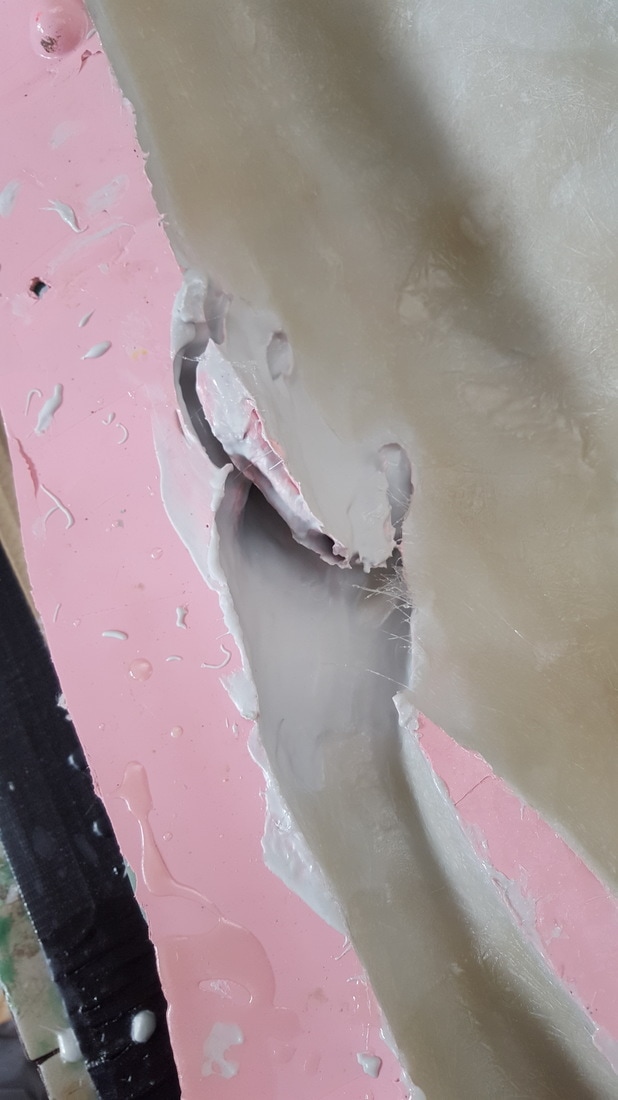
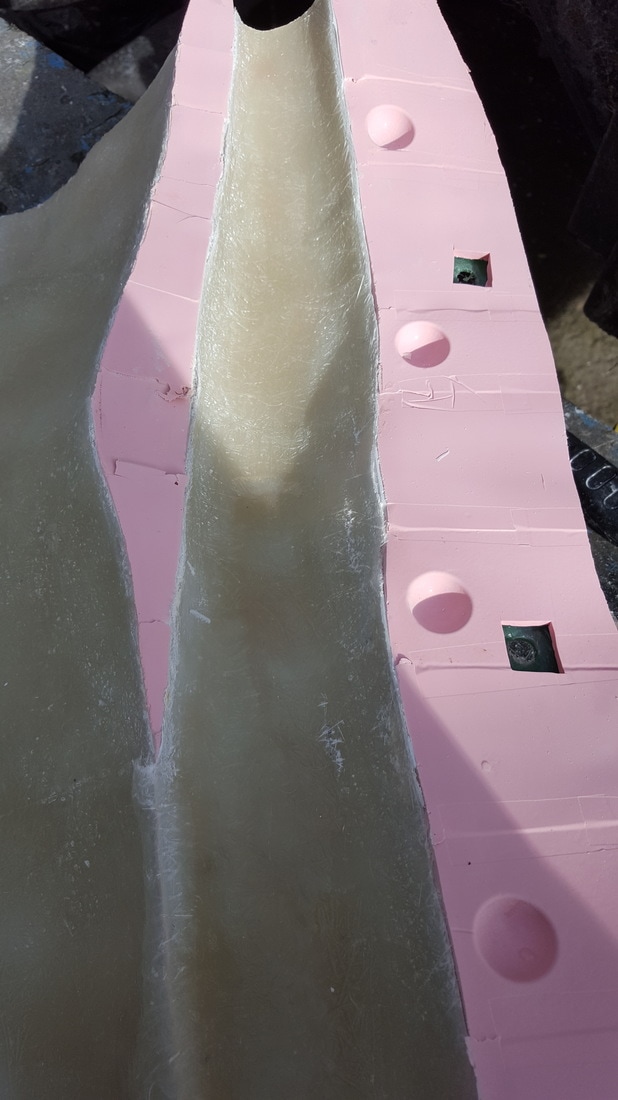
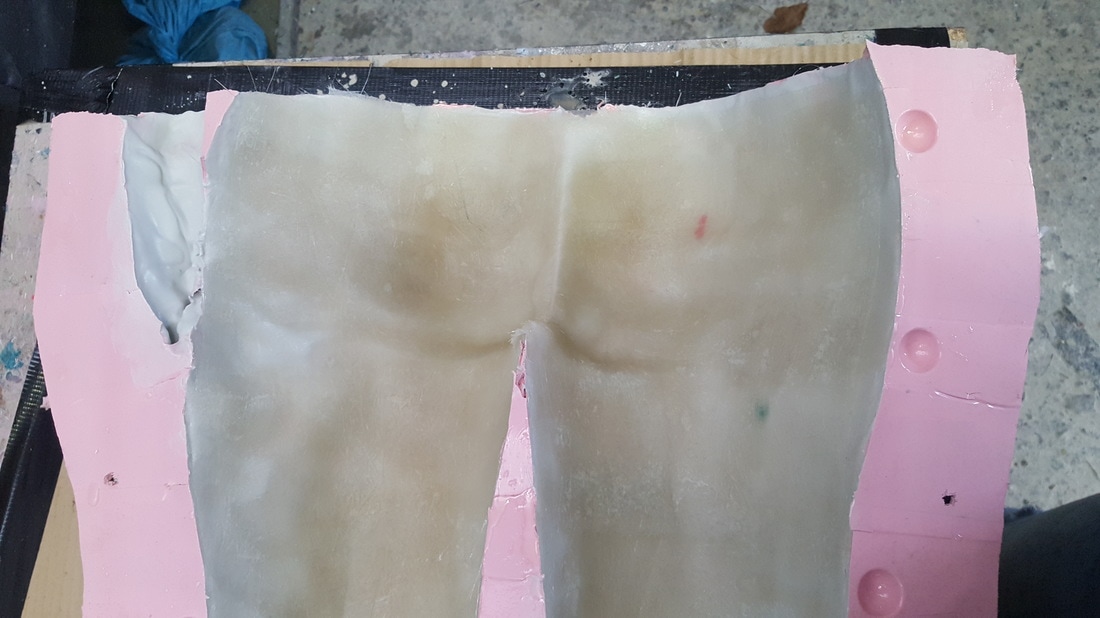
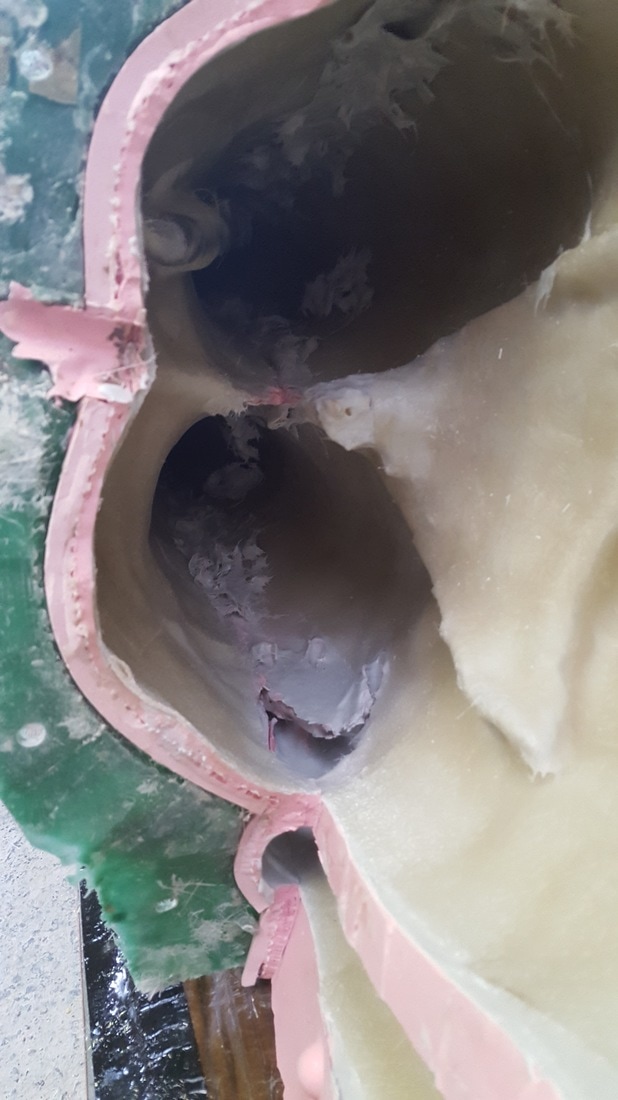
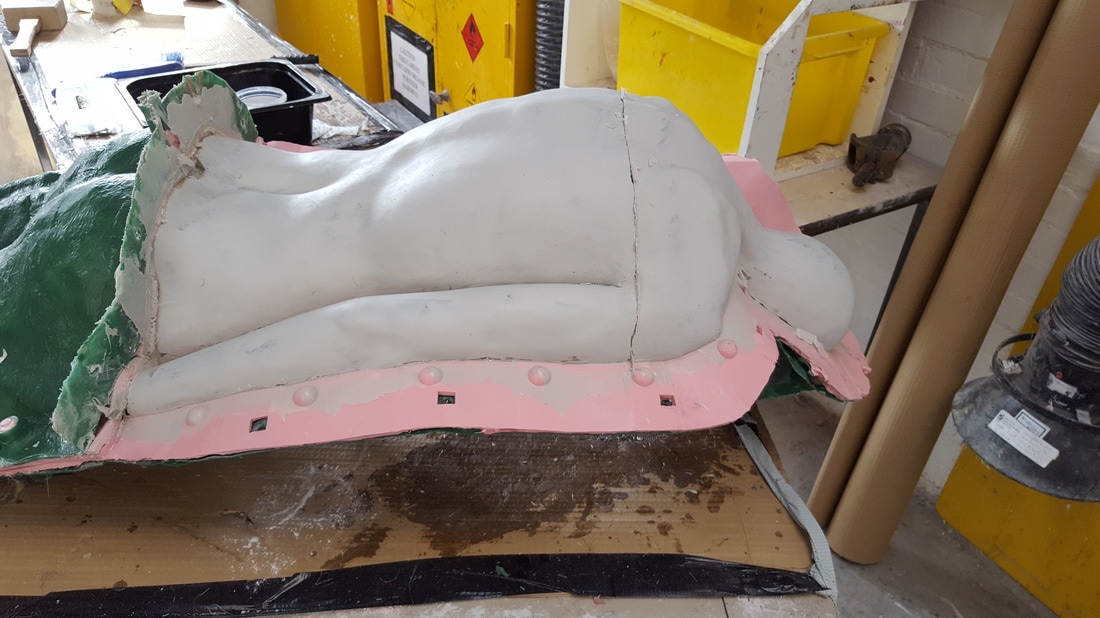
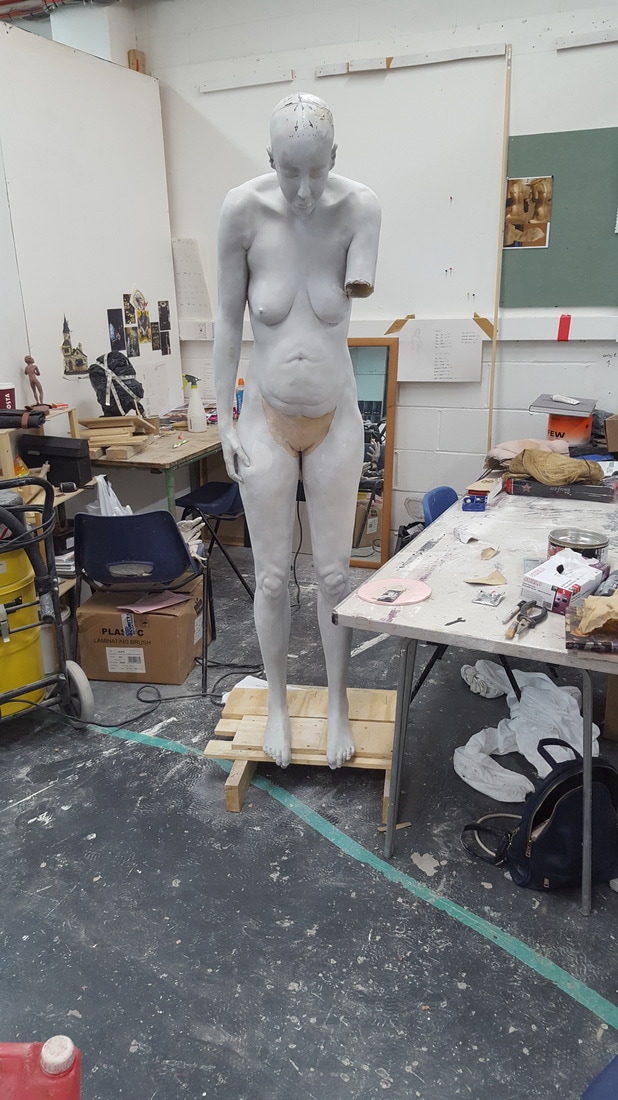
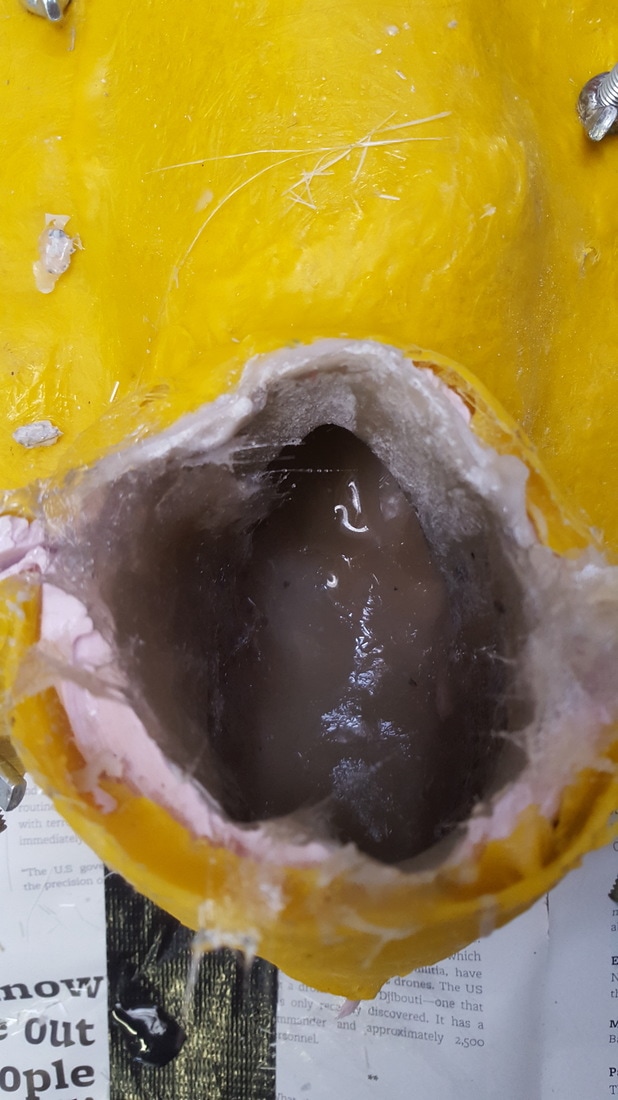
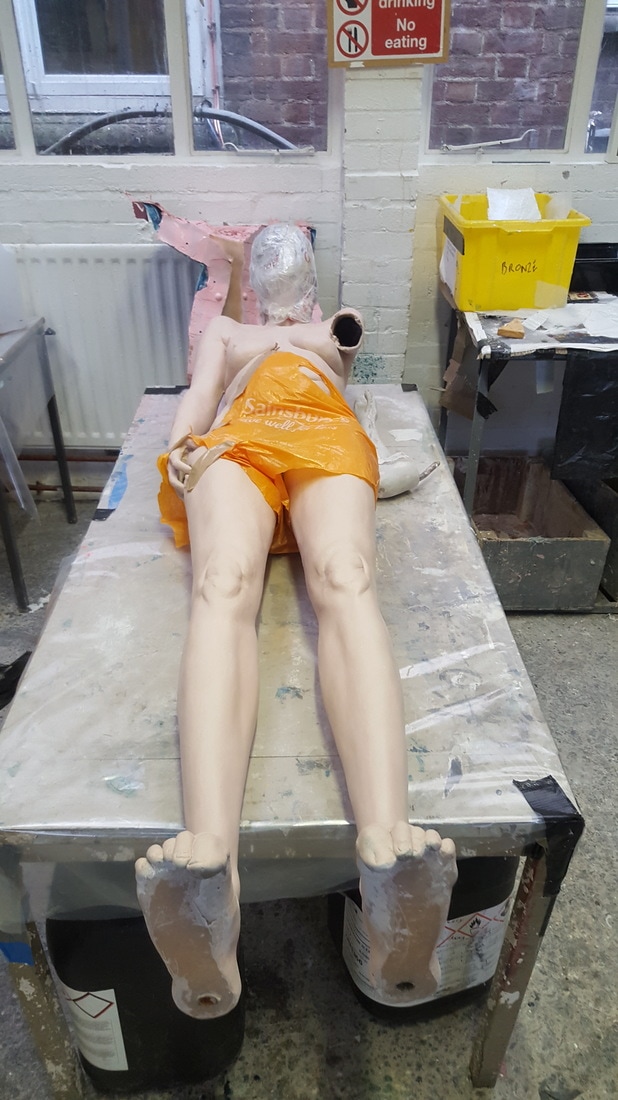
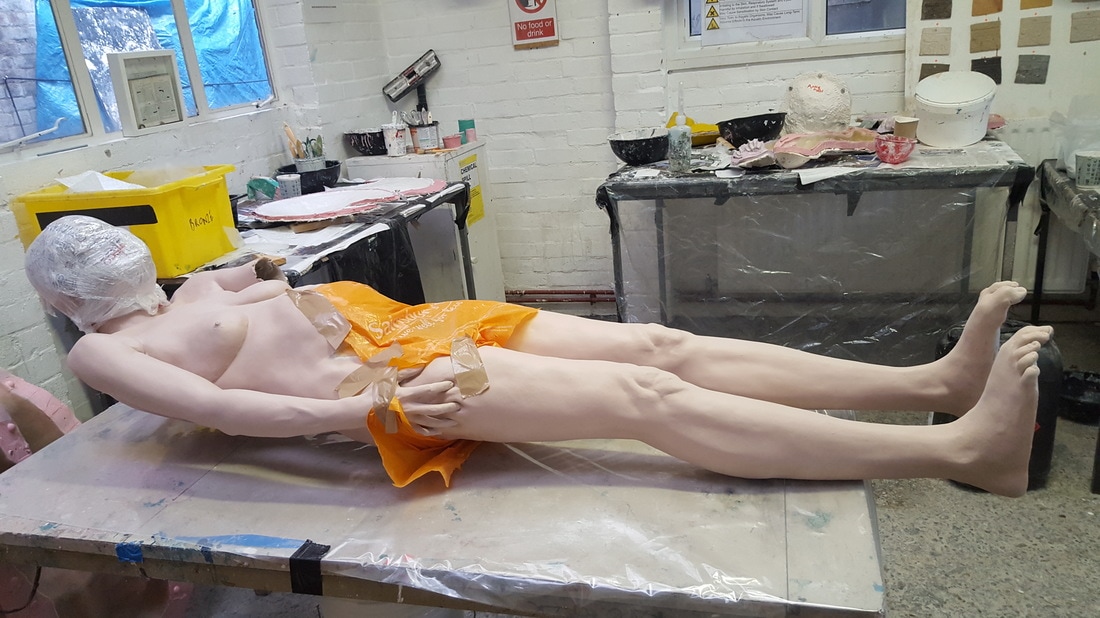
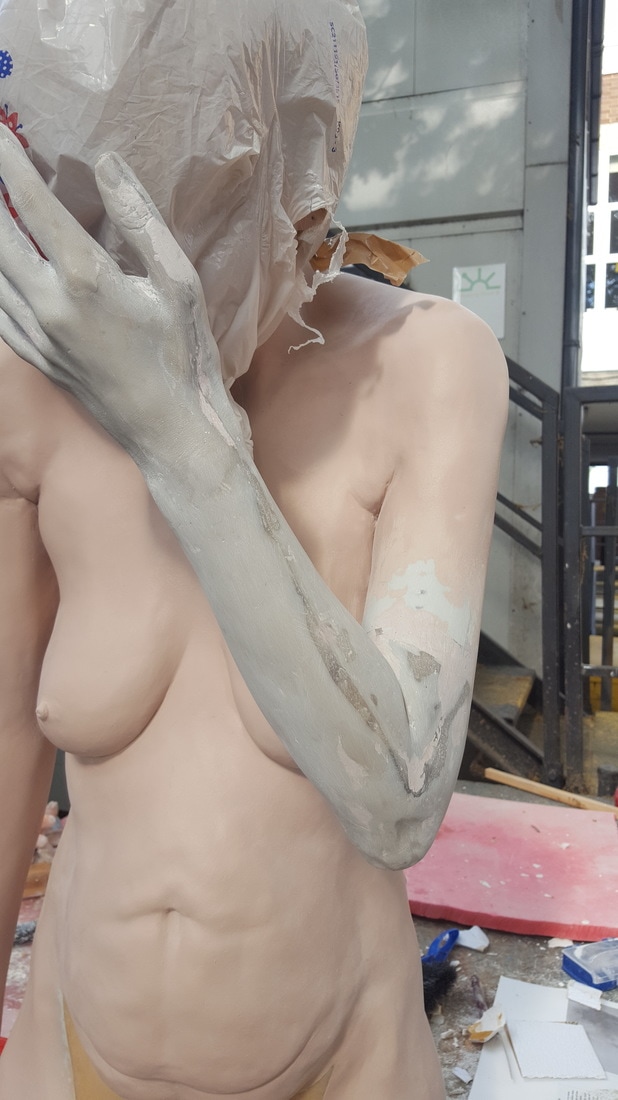
The next morning the mould could be taken apart carefully. Beginning with the smallest mould piece (the back of the head) I undid the bolts, lifted away the resin jacket and peeled the silicone to reveal the final cast. You can see in the picture that the wax insert is now fully imbedded in the resin. I was happy with how the seams turned out, the overhang shown is simply the gel coat bond that was squished into place when the cast was being put together.
|
|
|
|

|
|
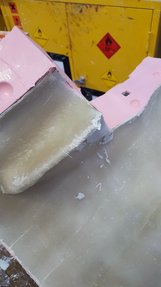
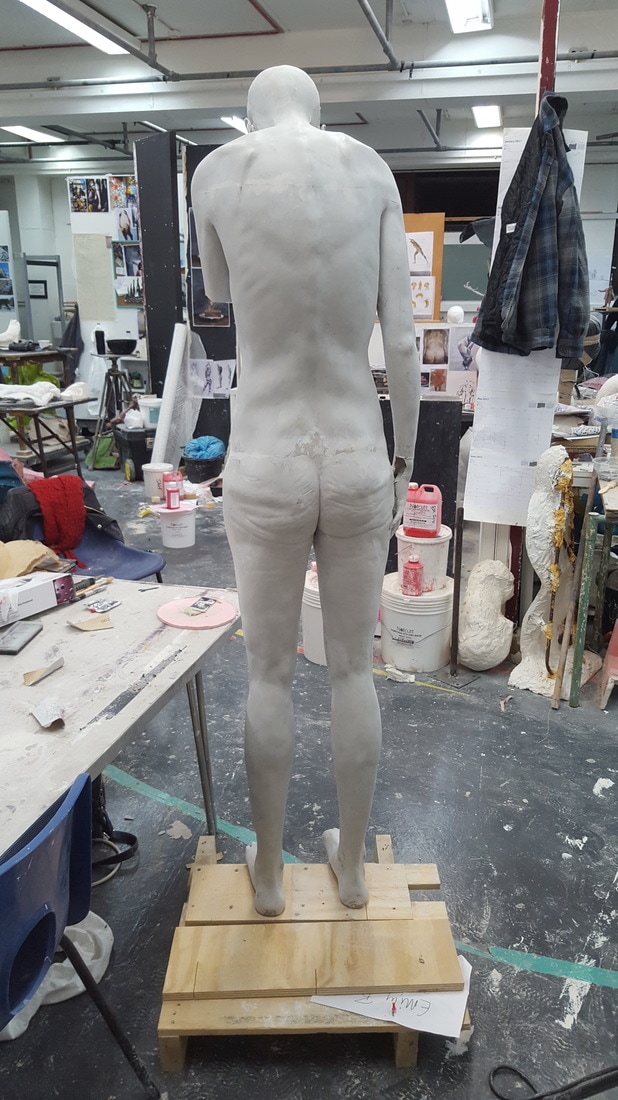
The final cast was now complete and I began working on the seams using various methods including files, sandpaper and a Dremmel to get the seams looking as good as possible. The holes in the seams were touched up using car body filler.
|
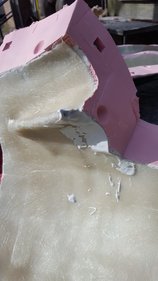
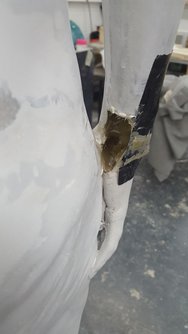
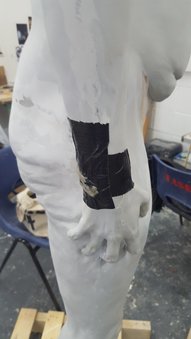
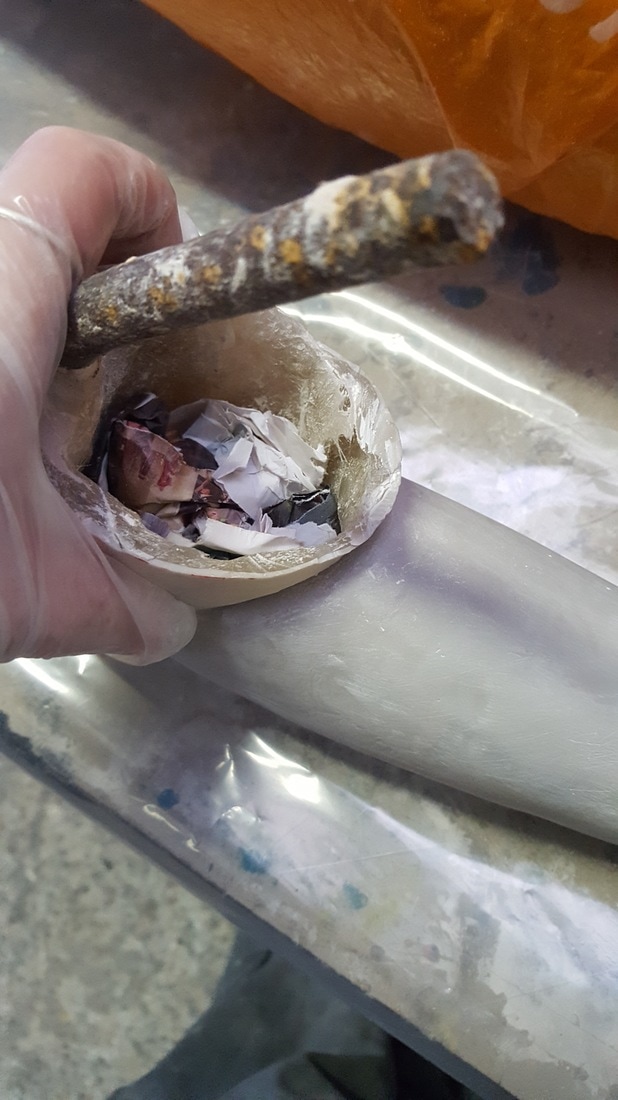
weak points in the cast began to show themselves when I began the process of sanding the seams. The biggest being the right hand wrist. This was an area that I failed to coat with a layer of the fiberglass mating, and therefore was only the brittle gel coat. A hole appeared, so to fix it we covered the hole with duct tape, allowing us pouring access, and poured in a generous amount of resin mixed with chopped strand. When dry the tape was removed and the seam was covered using car body filler.
|
|
|
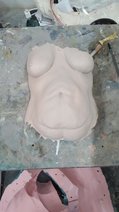
During this time I made a sample piece of the stomach. This would be used as a tester when I eventually painted the sculpt. This was created in exactly the same way as the original cast. By adding a layer of gel coat, then a layer of resin and fiberglass matting and finally allowing to set and then this was taken from the mould. The mould was then closed up by bolting in specific places so that it would retain its shape and be easier to store.
|
|
When the body was finally cast, I concentrated on casting the arm. It was exactly the same process as the body, first a layer of grey gel coat was applied, and then a layer of fiberglass matting was added. I made sure to only apply the fiberglass matt up to the wrist section of the mould. The fingers would need further strengthening.
|
|
|
|
|
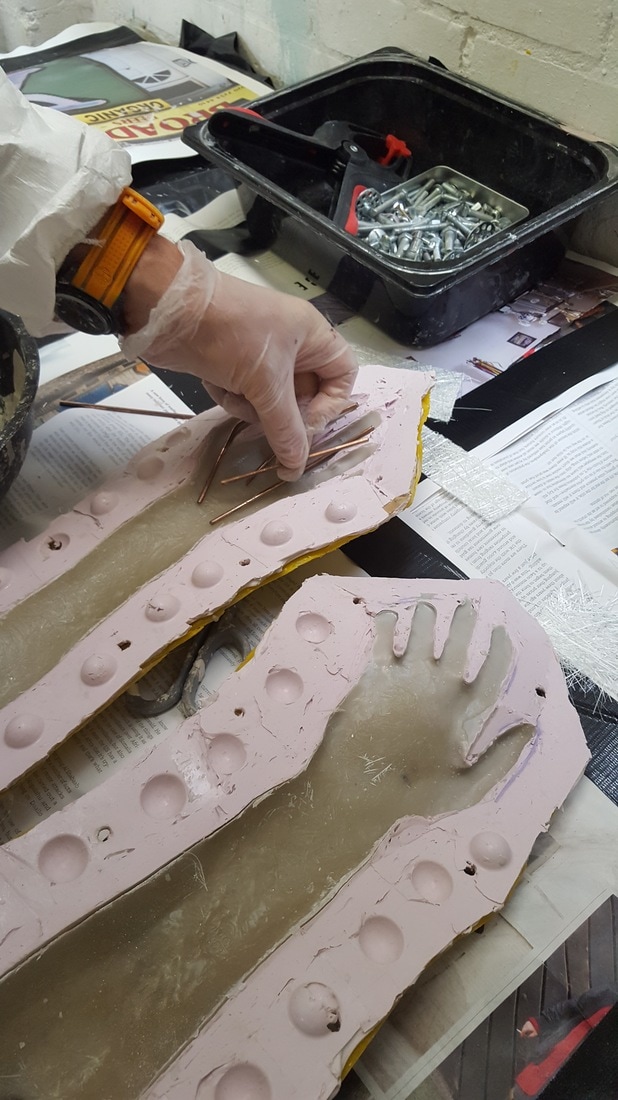
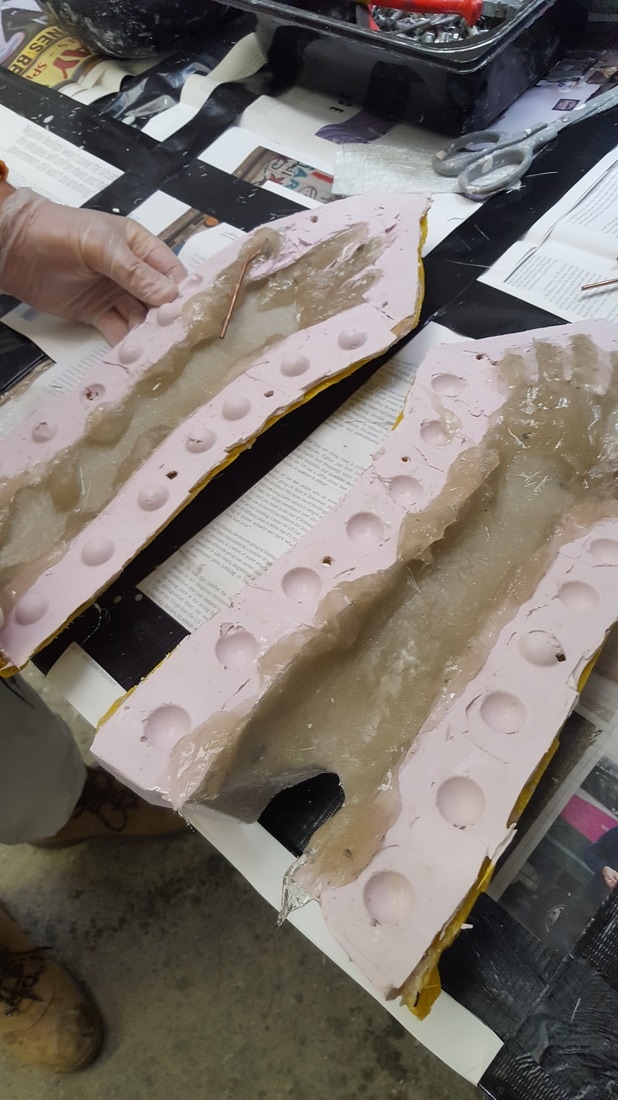
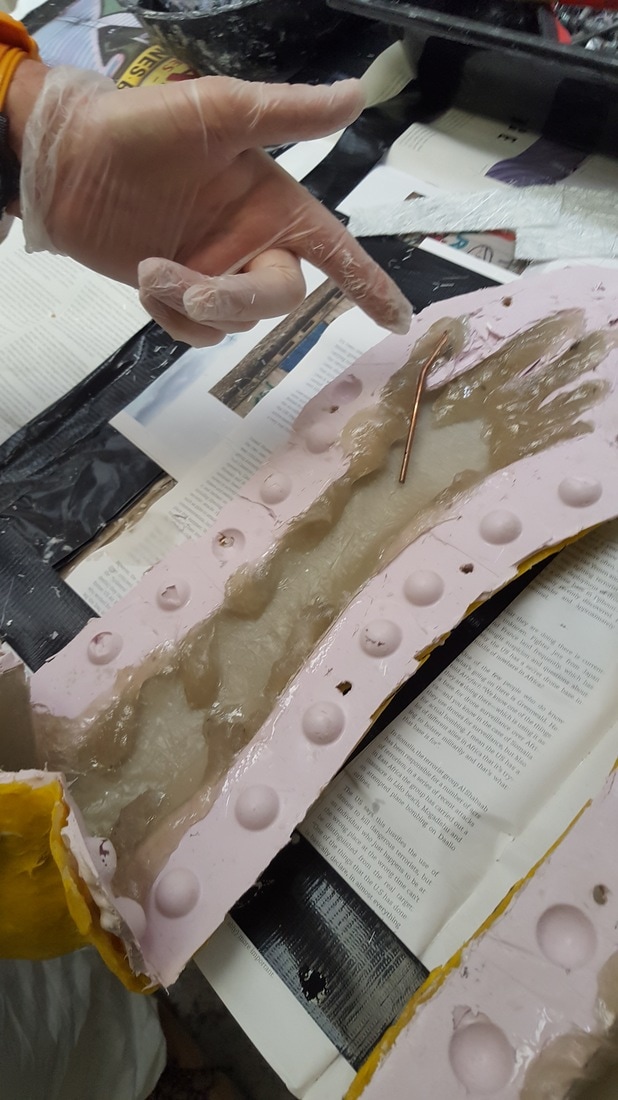
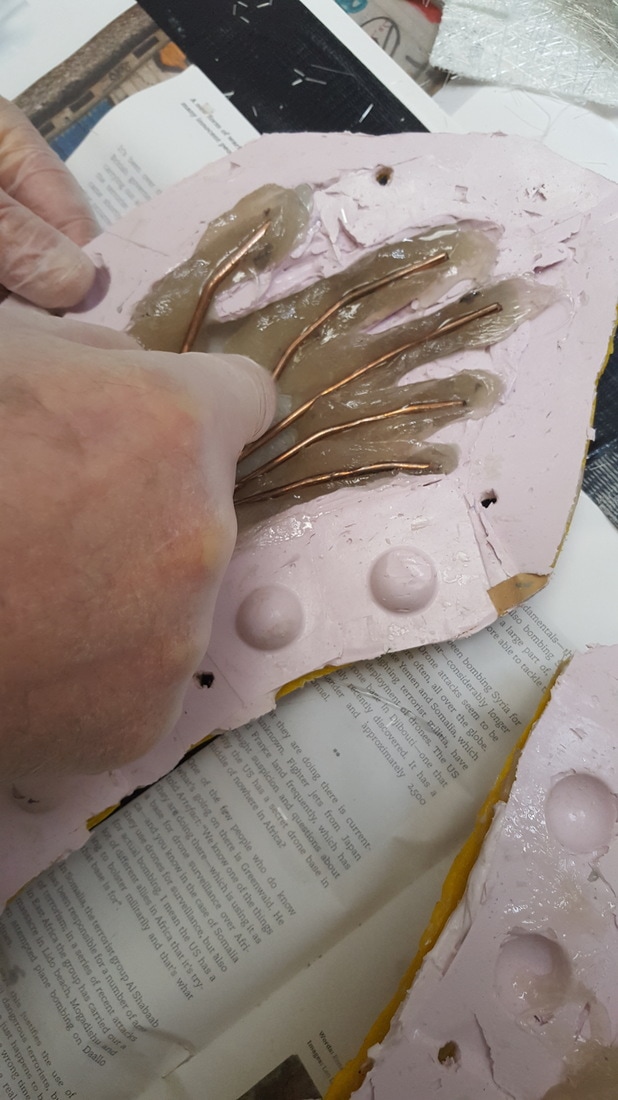
Because of the delicate nature of the fingers, having them made of only gel coat would provide little in the way of strength and the fingers would be brittle. To fix this we cut and bent welding rod to the correct shape, and added a layer of resin mixed with chopped strand to the edges of the mould. The fingers were filled on both sides with the resin mixture, and the metal rods were inserted into the centre.
|
The mould was then secured together, and bolted in place. Where I could reach inside the mould I began to wet down fiberglass mat with a little left over resin, and patch over the join to strengthen it. The fingers should have been filled more than needed so that when the mould was secured together, the resin should have been squished out.
|
|
|

To attach the arm to the body, I first needed to attach a metal bar to the inside of the arm cavity whilst it was still in its fiberglass case. I attached the rod by first cutting and bending the rod to the required shape, taking into account the angle of the arm and the body where they connect. once I had bent the metal rod I secured it temporarily using car body filler. I then attached it securely using fiberglass mat and resin. I let the join set and then the next morning took the arm out of its mould finally.
|
|
|
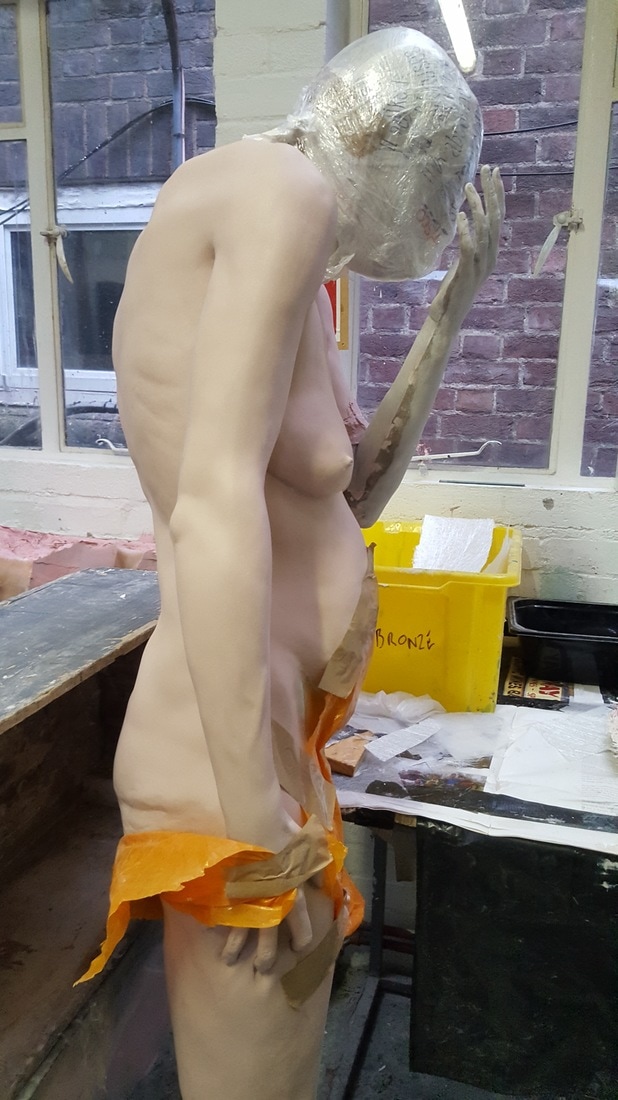
To attach the arm, because there was no access point, we needed to attach it from the outside. We did this by lying the figure down on her side, at an angle. The arm was tightly packed with newspaper and a slightly runny mixture of resin mixed with
|
chopped strand was poured into the body arm cavity. The runny consistency makes the resin pool in the shoulder whilst we continue onto the next process which is to attach the arm and securing using car body filler. The filler is applied the whole way around the join to create a seal so that the resin would not seep out. The arm was held in place until the filler had hardened.
|
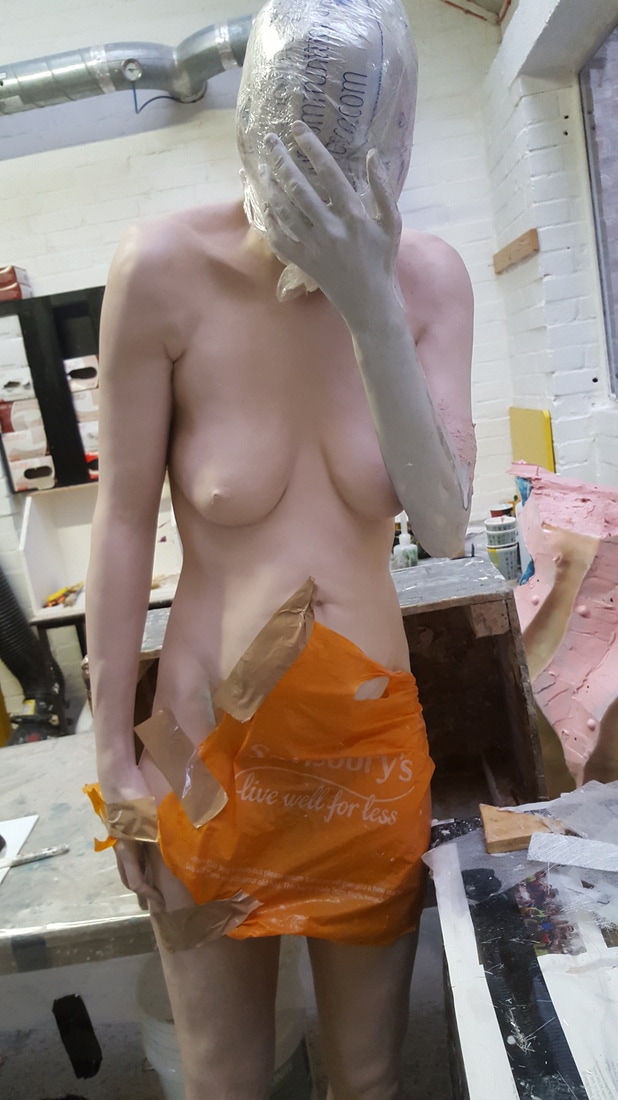
Once the filler had hardened, the whole figure was then tipped upright, so that the runny resin would flow back into the arm. It would then fill up around the join and the pole connecting the arm to the body. It would be stopped by the newspaper block we added earlier. This meant that around the join of the arm was now solid resin, making it one of the strongest parts of the piece.
|
|
|
|
|
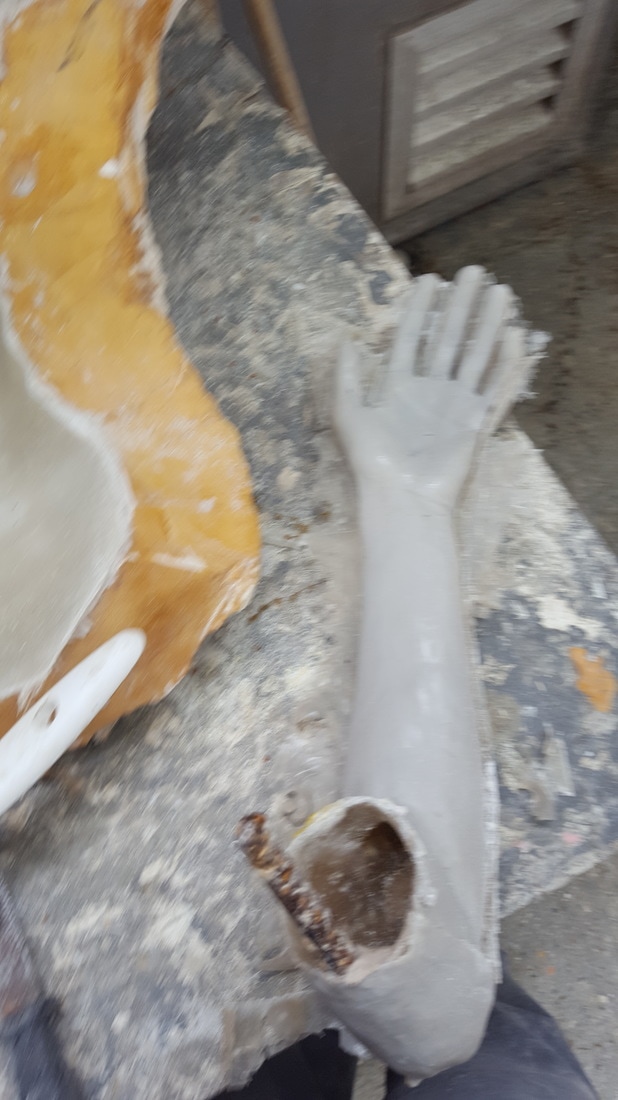
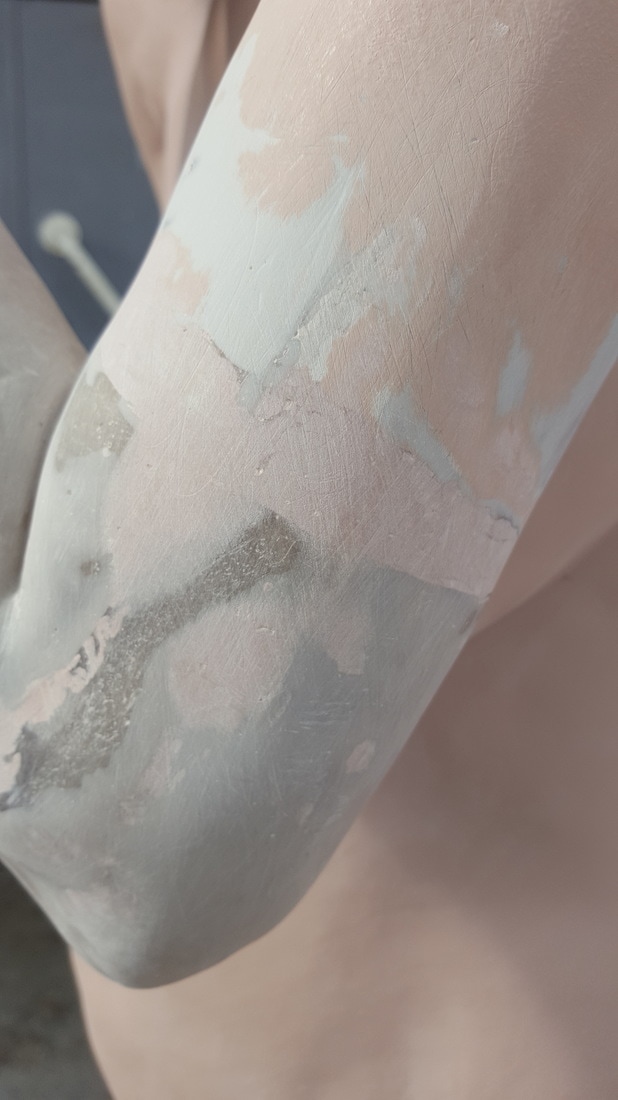
When the resin was set, the residue filler could be sanded away and any imperfections could be filled and sanded off. My arm came out of the mould very well, aside from the joint that ran up the side of the thumb. This was slightly warped, so I had to use filler and almost re sculpt the detail. Once I had sanded the arm completely I continued onto priming the surface ready for painting.
|